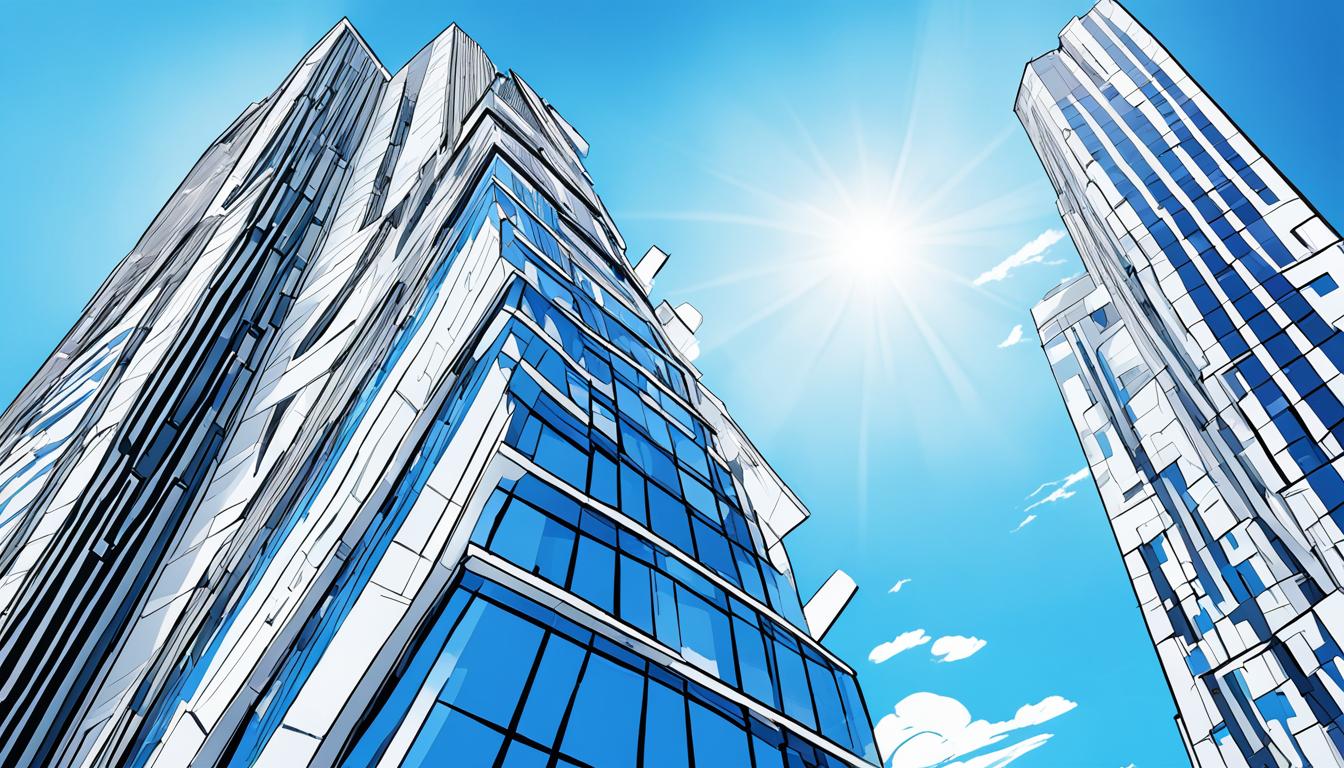
Using 3-axis stabilization lets you make stunning vertical panoramas. This method helps you take photos with lots of detail and clearness. By taking several photos with a longer lens, you get a bigger view and better resolution in the end.
3-axis stabilization in panoramic photos has many perks. It cuts down on noise, removes unwanted effects, and boosts the look of your images. With a medium telephoto lens (85mm to 135mm), your resolution can jump by 3-7 times over a standard 50mm lens.
Learning this technique will take your vertical panoramas to the next level. As you explore 3-axis stabilization, you’ll see how it’s key for making perfect, amazing panoramic shots.
Understanding the Importance of 3-Axis Stabilization in Panoramic Photography
3-axis stabilization is key in panoramic photography, especially for vertical shots. It changes how we stabilize images, making your photos better. Let’s explore this feature that’s changing the game.
What is 3-Axis Stabilization?
3-axis stabilization is a top-notch tech that keeps camera movements in check along three axes: pitch, yaw, and roll. It uses sensors and motors to fix camera shake. This means you get smoother, more stable images.
Benefits of 3-Axis Stabilization for Vertical Panoramas
For vertical panoramas, 3-axis stabilization brings big benefits:
- Improved image quality with reduced blur
- Consistent framing across multiple shots
- Enhanced low-light performance
- Smoother transitions between frames
- Greater flexibility in challenging shooting conditions
Comparing 3-Axis Stabilization to Traditional Methods
3-axis stabilization beats traditional methods in many ways:
| Feature | 3-Axis Stabilization | Traditional Methods |
|---|---|---|
| Precision | High accuracy in all directions | Limited control over camera movement |
| Efficiency | Quick setup and shooting process | Time-consuming adjustments |
| Versatility | Adaptable to various shooting conditions | Often limited by environmental factors |
| Image Quality | Consistently sharp and clear images | Variable results, prone to blurring |
Using a camera gimbal with 3-axis stabilization can greatly enhance your vertical panoramas. It ensures smooth movements, making your panoramic photos look professional and seamless.
Essential Equipment for 3-Axis Stabilized Vertical Panoramas
To capture stunning vertical panoramas, you need the right gear. Let’s explore the key equipment that will take your panoramic photography to the next level.
A panoramic head is crucial for your setup. It lets you make precise rotations for perfect alignment. Look for a panoramic head with smooth movements and fits your tripod well.
Then, there’s the leveling base. It helps you get your camera level, even on rough ground. A good leveling base has a one-point system for quick adjustments, saving you time.
Don’t overlook the nodal rail. It eliminates parallax errors by lining up your camera’s nodal point with the rotation axis. This is key for smooth stitching in your final image.
Lastly, an L-bracket is a must for vertical panoramas. It lets you switch between portrait and landscape without adjusting your setup. This flexibility is priceless for your shots.
| Equipment | Function | Benefit |
|---|---|---|
| Panoramic Head | Precise camera rotation | Perfect alignment of shots |
| Leveling Base | Camera leveling | Easy setup on uneven ground |
| Nodal Rail | Parallax elimination | Seamless image stitching |
| L-Bracket | Quick orientation change | Versatile shot composition |
With these tools, you’re set to capture amazing vertical panoramas. Remember, great gear helps, but your skills and creativity are what make your images stand out.
Setting Up Your Camera and Tripod for Vertical Panoramas
Getting your gear right is key to amazing vertical panoramas. The right tools and methods make your images sharp and professional. Let’s explore the key steps for setting up your equipment.
Choosing the Right Tripod
A strong tripod is vital for great panoramic shots. Choose one with adjustable legs and a robust head. Carbon fiber tripods are great for stability without being too heavy. Make sure your tripod can hold your camera and lens without trouble.
Properly Mounting Your Camera
Mounting your camera correctly is crucial for vertical shots. An L-bracket lets you switch between portrait and landscape easily. This keeps your camera stable and secure. Make sure it’s tight to avoid any movement during the shot.
Adjusting Tripod Height and Stability
Place your tripod at eye level for a natural look. Start with the thicker legs for the best stability. Use a bubble level or an external one to make sure your tripod is perfectly level. This stops your image from distorting.
| Tripod Feature | Importance for Vertical Panoramas |
|---|---|
| Sturdy Construction | Prevents camera shake, ensures sharp images |
| Adjustable Legs | Allows for level setup on uneven terrain |
| Strong Tripod Head | Supports camera weight in vertical position |
| Bubble Level | Ensures precise alignment for seamless stitching |
Use a remote trigger or timer to reduce camera shake. This setup helps you make perfectly aligned vertical panoramas.
Use 3-Axis Stabilization for Perfectly Aligned Vertical Panoramas
To get amazing vertical panoramas, learn 3-axis stabilization. This method makes sure your pictures are straight and clear. Here are the key camera settings and tips you need.
Begin by setting your camera to manual mode. This lets you control the exposure for every shot. For tough lighting, try exposure bracketing. It takes several photos at different exposures, so you can pick the best one later.
Pick an aperture that gives you the look you want. f/8 to f/11 is usually good for vertical shots. Set your focus manually and keep it the same for all shots. This stops the camera from changing focus, which can mess up your panorama.
To avoid camera shake, use a remote or timer. This helps prevent any unwanted movement when you take the photo. Make sure to overlap your shots by 30-50% for easy stitching later.
| Setting | Recommendation | Purpose |
|---|---|---|
| Camera Mode | Manual | Consistent exposure |
| Aperture | f/8 to f/11 | Optimal depth of field |
| Focus | Manual, locked | Consistent sharpness |
| Shutter Release | Remote or timer | Minimize camera shake |
| Frame Overlap | 30-50% | Seamless stitching |
Follow these tips and use 3-axis stabilization to make stunning vertical panoramas. They’ll be perfectly aligned and look amazing.
Mastering the Technique: Shooting Vertical Panoramas
To get stunning vertical panoramas, you need to learn key techniques. We’ll go over the main steps for perfect and smooth results.
Determining the Optimal Overlap Between Frames
Getting the right overlap is key for stitching images together well. Try for 30-50% overlap between shots. This gives enough points for software to line up the images right. Not enough overlap can cause gaps, and too much overlap is a waste of time and space.
Adjusting Camera Settings for Consistent Exposure
It’s important to keep exposure the same across all shots for a smooth final image. Use manual mode to keep settings the same. Set your aperture to f/10 for a good depth of field. Then, adjust ISO and shutter speed for the right exposure. Shooting in RAW gives you more options later on.
Maintaining Focus Throughout the Panorama
Use focus techniques to keep your whole panorama sharp. Pick a focus point about 30 feet away and use manual focus. This method, with a narrow aperture, makes sure everything in the scene is clear.
| Technique | Recommended Setting | Benefit |
|---|---|---|
| Frame Overlap | 30-50% | Ensures successful stitching |
| Exposure Mode | Manual | Maintains consistency across frames |
| Aperture | f/10 | Provides adequate depth of field |
| Focus Distance | ~30 feet | Keeps entire scene sharp |
| File Format | RAW | Allows for flexible post-processing |
Mastering these techniques will help you take amazing vertical panoramas. You’ll get perfect alignment and smooth transitions between frames.
Post-Processing Techniques for Seamless Vertical Panoramas
After taking your vertical panorama shots, it’s time to combine them. Post-processing is key for making stunning panoramic images. Let’s explore the techniques you’ll need for stitching and editing your photos.

Begin by importing your images into Adobe Lightroom. Adjust the exposure, contrast, and white balance. Make sure to sync these settings across all images for a smooth stitching process.
Then, export your edited images as full-sized JPEGs or DNGs. These formats keep the image quality high and work well with most stitching software. Popular choices include PTGui Pro and AutoPano Giga, which have advanced features for precise alignment and blending.
When using your chosen software, use automatic alignment tools. These tools analyze your images and match overlapping areas. For the best results, create image stacks within the software. This helps organize your shots and makes stitching easier.
- Import edited images into stitching software
- Use automatic alignment tools
- Create image stacks for organization
- Adjust blending options for seamless transitions
- Export as high-quality PSD or TIFF file
After stitching, save your panorama as a PSD or TIFF file. These formats keep the highest quality and let you edit further. Go back to Lightroom or Photoshop for final touches. Adjust colors, tweak contrast, and apply any needed perspective corrections to make your vertical panorama perfect.
Common Challenges and How to Overcome Them
Creating vertical panoramas can be tricky. Let’s look at some common problems and how to fix them. This will help you take amazing photos.
Dealing with Moving Subjects
When objects move in your shot, it can mess up your panorama. To fix this, shoot fast or take several photos of the same spot. Then, pick the best ones later.
Correcting Exposure Differences
Light changes can make your panorama look uneven. Fixing exposure is crucial for a smooth final image. Use editing tools to blend exposures together. This makes your panorama look consistent.
Handling Lens Distortion
Lenses can distort your panoramas, making them look warped. To fix this, edit your photos with lens correction profiles. These profiles correct the lens’s distortion, giving you a true view of the scene.
| Challenge | Solution |
|---|---|
| Moving subjects | Shoot quickly or use multiple exposures |
| Exposure differences | Apply exposure blending in post-processing |
| Lens distortion | Use lens correction profiles in editing software |
Working with high-resolution panoramas means big files and long editing times. Make sure your computer can handle these files. Plan ahead for smoother editing.
Advanced Tips for Professional-Quality Vertical Panoramas
Take your vertical panoramas to the next level with these advanced techniques. By pushing the boundaries of high-resolution panoramas, you’ll create stunning images that captivate viewers.
Try multi-row panoramas to boost resolution dramatically. This technique involves shooting multiple rows of images, then stitching them together. The result? Incredibly detailed panoramas that reveal intricate textures and patterns.
For even more detail, use longer focal lengths. A 100mm to 135mm lens can capture fine elements in distant subjects. This approach works well for cityscape or landscape panoramas where you want to highlight specific features.

Minimize parallax errors by calculating the nodal point of your lens. This ensures your images align perfectly when stitched. Many photographers overlook this step, but it’s crucial for creating seamless gigapixel images.
Speaking of gigapixel images, these massive panoramas combine hundreds of high-resolution frames. They offer unparalleled detail and allow viewers to zoom in extensively. While time-consuming to create, the results are truly impressive.
| Technique | Benefits | Challenges |
|---|---|---|
| Multi-row panoramas | Higher resolution, more detail | Longer shooting time, complex stitching |
| Longer focal lengths | Increased detail in distant subjects | Narrower field of view, more frames needed |
| Nodal point calculation | Reduced parallax errors | Requires precise measurements |
| Gigapixel imaging | Extreme detail, extensive zoom capability | Time-consuming, large file sizes |
Consider investing in a specialized panoramic head like the Gigapan EPIC. These devices automate the shooting process, ensuring consistent overlap between frames. They’re particularly useful when creating complex multi-row panoramas or gigapixel images.
Conclusion
3-axis stabilization has changed how we take vertical panoramas, giving photographers more control. This tech makes panoramic photos better by removing camera shake. Now, you can make high-quality panoramas that look like they were taken with a big camera.
We looked at what you need for great vertical panoramas, like the right gear and how to set it up. We talked about how 3-axis stabilization helps with better images and working in tough spots. Remember, getting good at panoramic photography takes practice.
Keep improving your skills by trying new things and exploring different places. Vertical panoramas are full of creative chances. With what you’ve learned here, you can handle tough scenes and make amazing panoramic shots. These will show off your skill and creativity.
Source Links
- https://digital-photography-school.com/how-i-shot-and-edited-it-nepal-zoomable-panorama-ready/
- https://www.pixelperfexion.net/httpswwwweeblycomeditormainphp/-field-report-acratech-panorama-system-panoramic-head-leveling-base-nodal-rail-and-universal-l-bracket-everything-you-need-for-wide-ranging-panoramas
- https://www.lonelyspeck.com/how-to-shoot-large-format-astrophotography-panoramas/comment-page-4/


