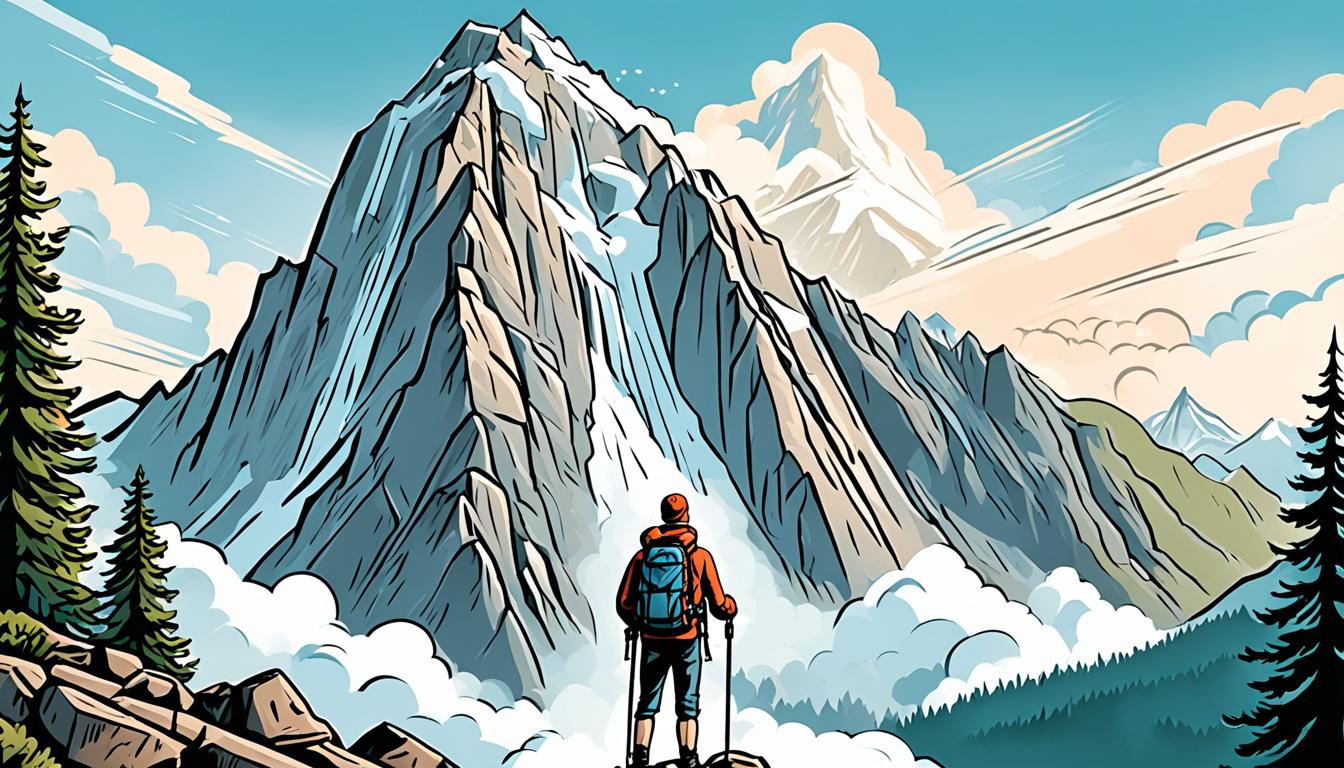
Waypoint navigation lets you make amazing vertical panorama sequences from the sky. This method helps you control your drone’s path. It captures smooth images for 360-degree views and virtual tours.
By setting GPS coordinates and altitudes, you get consistent coverage and image overlap. Learning waypoint navigation opens up new possibilities in drone filming. It lets you make immersive experiences for different uses.
It doesn’t matter if you’re new or experienced in aerial photography. Knowing how to use waypoint navigation will take your vertical panorama sequences to the next level. Let’s see how you can use this technique to make aerial shots that grab attention and bring scenes to life.
Understanding Waypoint Navigation in Aerial Photography
Waypoint navigation changes the game in aerial photography. It lets you make stunning vertical panoramas with precision and ease. Let’s explore GPS coordinates and flight paths to see how they change drone navigation and aerial imaging.
Waypoints: Your Aerial Roadmap
Waypoints are specific spots in 3D space that guide your drone. They’re like invisible signs, telling your drone where to go and what to do. By setting these GPS coordinates, you make a detailed flight plan for your aerial photos.
Navigation Systems: Guiding Your Drone
There are different types of navigation systems for waypoints:
- GPS-based systems: Use satellite signals for accurate positioning
- Visual positioning systems: Rely on cameras and sensors for navigation
- Hybrid systems: Combine GPS and visual data for better accuracy
Vertical Panorama Benefits
Waypoint navigation has many benefits for making vertical panoramas:
| Benefit | Description |
|---|---|
| Precision | Ensures consistent altitude and distance from subject |
| Efficiency | Allows quick coverage of large areas or tall structures |
| Repeatability | Enables recreating exact flight paths for consistent results |
| Automation | Reduces pilot workload, allowing focus on image capture |
Mastering waypoint navigation opens up new possibilities in aerial imaging. Your vertical panoramas will look better and be more creative. They’ll show subjects in ways never seen before.
Essential Equipment for Vertical Panorama Sequences
To capture stunning vertical panoramas, you need the right gear. This includes your drone, camera, and software for panoramic images. Let’s look at the key tools you’ll need for amazing aerial shots.
Selecting the Right Drone
When picking a drone for vertical shots, focus on stability and GPS precision. Choose drones with long flight times and top-notch positioning systems. The DJI Mavic 3 and Autel EVO II Pro are great choices for aerial photography.
| Drone Model | Flight Time | Camera Resolution | GPS System |
|---|---|---|---|
| DJI Mavic 3 | 46 minutes | 20 MP | Dual-band, multi-GNSS |
| Autel EVO II Pro | 40 minutes | 20 MP | GPS + GLONASS |
Camera Specifications for High-Quality Panoramas
Your camera’s features greatly affect panorama quality. Choose a camera with a high-resolution sensor and manual exposure settings. Being able to shoot in RAW is key for editing later. Don’t forget ND filters to control exposure in bright light.
Necessary Accessories and Software
Make sure you have extra batteries, memory cards, and a strong controller. For panoramic software, try Pix4Dcapture for planning flights and PTGui or Adobe Lightroom for stitching and editing. These tools make your work easier from start to finish.
- Extra propellers
- Carrying case
- Tablet or smartphone for live view
- Panorama stitching software
- Color correction tools
Planning Your Vertical Panorama Shoot
Planning is crucial for capturing amazing vertical panorama shots. Start by scouting out locations. Think about lighting, the time of day, and any obstacles you might face. This helps set the stage for incredible aerial photos.
Flight planning is a must for success. Plan your takeoff and landing spots, where you’ll fly, and what to do in an emergency. Figure out how many photos you’ll need and make sure your drone’s battery can last the whole shoot.
The weather is key to your shoot. Look at the forecast for wind, rain, and clouds. The best conditions are clear skies and little wind. But, be ready to change your plan if the weather changes.
Essential Checklist for Your Shoot
- Scout multiple locations for the best vantage points
- Create a detailed flight plan with waypoints
- Check local regulations and obtain necessary permits
- Monitor weather forecasts leading up to your shoot
- Prepare backup batteries and memory cards
With careful planning, you’ll be ready to capture stunning aerial shots. These will show off your location in its best light.
| Planning Aspect | Importance | Key Considerations |
|---|---|---|
| Location Scouting | High | Lighting, obstacles, unique features |
| Flight Planning | Critical | Waypoints, battery life, image count |
| Weather Assessment | Crucial | Wind speed, visibility, cloud cover |
| Legal Compliance | Mandatory | Local laws, permits, no-fly zones |
Setting Up Waypoints for Optimal Coverage
Setting up waypoints is crucial for taking stunning vertical panoramas. The right setup makes sure your drone flies the best path. This maximizes image quality and coverage. Let’s look at how to pick the best altitude, create a great flight path, and adjust for tough spots.
Choosing the Right Altitude
Choosing the right altitude is key for great panoramas. Find a height that balances detail and coverage. For tall structures, start high and slowly go down. This keeps your images clear throughout.
Optimizing Flight Paths
Flight path optimization is vital for smooth panoramas. Plan a route that fits your subject’s shape and complexity. Spiral patterns are good for towers, and zigzag for flat facades. Aim for 60-80% overlap between shots for seamless stitching later.
Adapting to Challenging Environments
Some places need extra thought. When there are obstacles or uneven surfaces, adjust your waypoints to keep a steady distance. This might mean making custom paths or using advanced navigation. The aim is to capture every detail without missing spots or distortions.
| Environment | Flight Pattern | Recommended Overlap |
|---|---|---|
| Tall Buildings | Descending Spiral | 70-80% |
| Wide Landscapes | Grid Pattern | 60-70% |
| Complex Structures | Custom Path | 75-85% |
Plan your waypoints well to get the full view for amazing vertical panoramas. Adjust your approach for each unique situation.
Use Waypoint Navigation for Stunning Vertical Panorama Sequences
Starting your drone’s flight with a planned path is key for great vertical panoramas. Launch your drone and turn on the flight path you set. Watch as the drone moves to each waypoint.
For the best shots, use your camera in manual mode. Set the exposure and focus to keep images consistent. This makes stitching the photos together easier later.
Take photos at set times or at each waypoint, based on what you’re capturing and what you want. Watch for changes in light during the flight. Adjust your camera settings as needed to keep the quality of your shots consistent.
Key Settings for Vertical Panorama Capture
- Shutter speed: 1/500s or faster to avoid motion blur
- Aperture: f/5.6 to f/8 for optimal sharpness
- ISO: As low as possible while maintaining proper exposure
- White balance: Manual setting to ensure color consistency
Keep an eye on your drone’s battery during the flight. If it runs low, stop the sequence and swap batteries to finish the route. Being consistent is crucial for amazing vertical panoramas.
| Flight Parameter | Recommended Setting | Purpose |
|---|---|---|
| Altitude Change | 5-10 meters between shots | Ensures adequate overlap for stitching |
| Hover Time | 3-5 seconds per waypoint | Allows for stable image capture |
| Ascent/Descent Speed | 1-2 m/s | Maintains smooth movement for consistent imaging |
Post-Processing Techniques for Vertical Panoramas
After taking your vertical panorama shots, it’s time to enhance them. This step turns raw images into beautiful scenes. Let’s look at the key techniques you need to know.
Stitching Software Options
Panorama stitching is key to making seamless vertical panoramas. You can choose from several software, each with its own strengths:
- PTGui: Offers advanced control and excellent results for complex panoramas
- Adobe Photoshop: Provides a user-friendly interface with built-in stitching tools
- Hugin: An open-source option with powerful capabilities for experienced users
Color Correction and Image Blending
Getting consistent colors and smooth transitions is crucial. Here are some techniques to use:
- White balance adjustment: Ensure color temperature consistency
- Exposure blending: Seamlessly merge areas with varying light levels
- Gradient filters: Correct uneven lighting across the panorama
Creating Interactive 360-degree Experiences
Turn your panoramas into immersive 360-degree views:
- Use software like Pano2VR or 3DVista to create interactive tours
- Add hotspots for additional information or navigation
- Integrate with mapping platforms for location-based context

| Software | Key Features | Best For |
|---|---|---|
| PTGui | Advanced control, batch processing | Professional photographers |
| Adobe Photoshop | User-friendly, integrates with other Adobe tools | Beginners and intermediate users |
| Hugin | Open-source, highly customizable | Advanced users on a budget |
Mastering these post-processing techniques will take your vertical panoramas to the next level. Try different software and methods to find what works best for you and your projects.
Applications of Vertical Panorama Sequences
Vertical panorama sequences have changed many industries. They offer immersive experiences and detailed visuals. Let’s see how they’re making a big impact in real estate marketing, architectural visualization, and event videography.
In real estate marketing, these sequences give potential buyers a full tour of properties. You can show off big views from high-rise buildings or the beauty of large homes. They let clients see every part of the property, from the basement to the rooftop.
Architects and designers love using vertical panorama sequences too. They make detailed walkthroughs of buildings, inside and out. You can show off the building’s design, how rooms connect, and how light changes throughout the day.
Event videographers use vertical panoramas to capture big events in great detail. Whether it’s a music festival or a corporate event, these sequences offer a new view. They show the whole event area, from the ground up to the sky, giving viewers a full feel of the event’s size and vibe.
| Industry | Application | Benefits |
|---|---|---|
| Real Estate Marketing | Virtual property tours | Immersive experience, showcasing multi-level properties |
| Architectural Visualization | Building walkthroughs | Detailed exterior and interior views, structural insights |
| Event Videography | Large-scale event documentation | Comprehensive coverage, unique perspectives |
Construction sites find vertical panoramas very useful for tracking progress. You can record each step of the building process, from the start to the end. This helps with quality control and lets stakeholders see the project’s progress.
Landscape photography has also been changed by vertical panorama sequences. You can capture wide scenes and natural beauty in great detail. From deep canyons to high mountains, these sequences let you show landscapes in a way that traditional photos can’t.
Overcoming Common Challenges in Waypoint Navigation
Waypoint navigation can be tricky when making vertical panorama sequences. Let’s look at how to overcome these challenges and make your aerial photography project a success.
Wind and Weather Woes
Wind can mess with drone stability, making images inconsistent. To fight this, change your flight speed and pick drones with top-notch stabilization. In windy weather, fly slower to help your drone adjust. Always put safety first – if the weather gets too bad, wait to shoot.
Maintaining Image Quality
For smooth panoramas, keep your camera’s settings the same for all shots. Use neutral density filters to handle changing light. This keeps your panorama looking consistent.

GPS and Navigation Troubles
GPS accuracy is key for accurate navigation. Pick open spots away from tall buildings or thick trees for clear signals. Make sure to calibrate your drone’s compass often. Know how to use manual controls if GPS fails. Always keep an eye on your drone and be ready to take control if needed.
| Challenge | Solution |
|---|---|
| Strong winds | Use robust drone stabilization systems |
| Varying light conditions | Lock exposure settings and use ND filters |
| GPS signal issues | Choose open areas and calibrate compass regularly |
By tackling these common issues, you’ll be ready to capture amazing vertical panoramas with waypoint navigation. Stay flexible and adjust your plan as needed based on what you find during your shoot.
Conclusion
Waypoint navigation has changed the game for aerial photography. It brings amazing benefits for making stunning vertical panorama sequences. By learning this technique, you can boost your photography skills. You’ll make visuals that grab the attention of people in different fields.
Advances in panoramic photography have opened up new creative doors. With the right gear, planning, and editing, you can make 360-degree experiences. These vertical panoramas are great for real estate, tourism, city planning, and monitoring the environment.
As drones get better, the use of waypoint navigation in aerial photography will grow even more. By keeping up with new software and hardware, you can expand your creative vision. You’ll make vertical panoramas that really stand out.
Use the power of waypoint navigation to take your aerial photography to the next level. With hard work and practice, you’ll soon be making vertical panorama sequences that really impress people and clients.


