Using leading lines in your drone shots can make your hyperlapse videos more engaging. This method blends the drone’s movement with time-lapse, creating eye-catching videos. These videos tell a story in a unique way.
To master hyperlapse drone filming, know your gear, fine-tune your camera settings, and learn about composition. Adding leading lines to your shots draws the viewer’s eye and adds depth and movement. This makes your footage more dynamic.
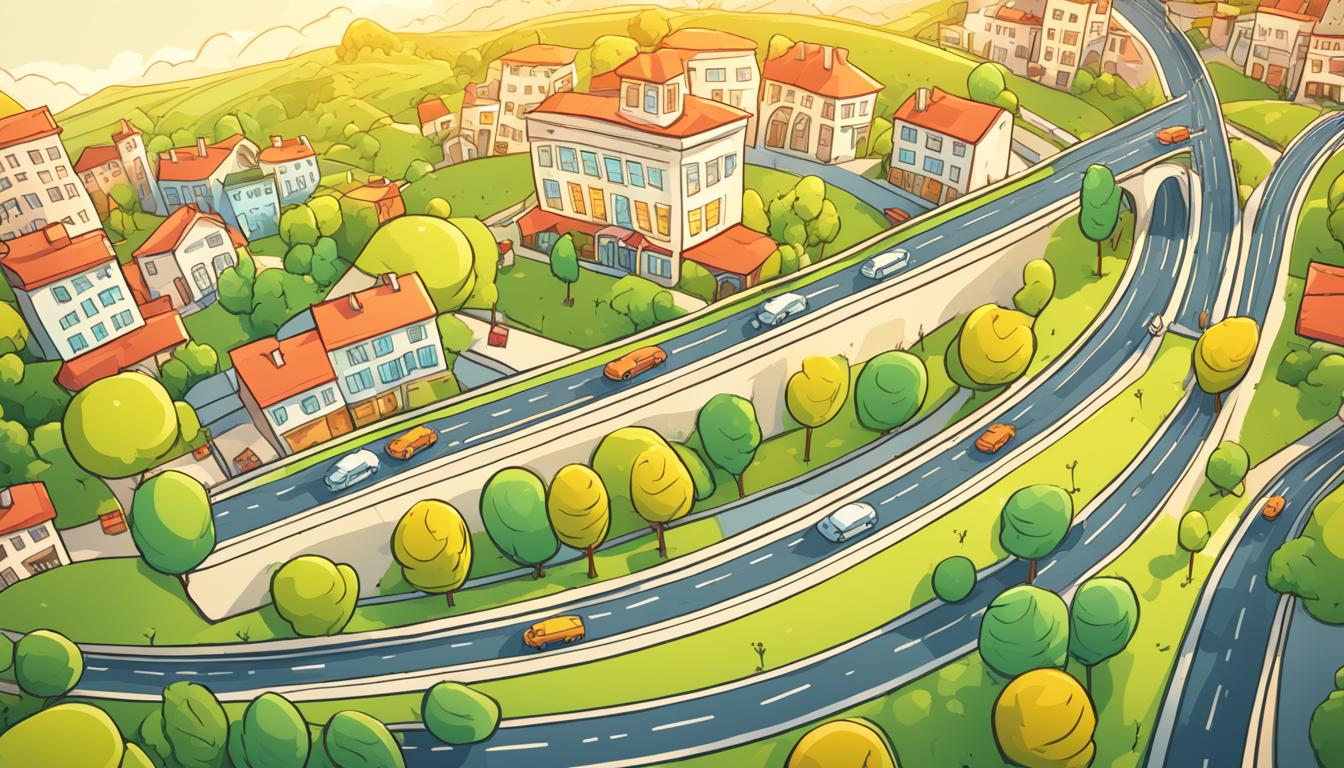
When making hyperlapse drone videos, look for leading lines in your location. Rivers, roads, bridges, and coastlines work well. Plan your drone’s path to follow these lines. This makes your video flow smoothly and tells a better story.
Understanding the Basics of Hyperlapse Drone Photography
Hyperlapse drone photography blends drone tech with time-lapse methods. It makes amazing aerial videos that show movement and time’s flow from new angles. Let’s dive into the basics of this thrilling field.
What is hyperlapse photography?
Hyperlapse photography is a top-notch type of time-lapse. It takes many photos while moving the camera between shots. This makes the final video look like it’s moving, showing time and space in a new way.
How drones enhance hyperlapse techniques
Drones change hyperlapse photography by offering smooth moves and amazing bird’s-eye views. They let photographers capture wide scenes, cityscapes, and nature from angles we couldn’t reach before. Drones’ stability and precision make hyperlapse videos look smooth and fluid.
Essential equipment for hyperlapse drone shots
To make pro hyperlapse videos with drones, you need certain gear:
- A high-quality drone with a good camera
- Neutral density (ND) filters for controlling light
- A reliable remote with live video feed
- Extra batteries for longer flights
- A strong computer for editing
Knowing about camera settings like resolution, frame rates, and shutter speed is key for smooth hyperlapse videos. With the right gear and knowledge, you can make stunning aerial time-lapses that grab viewers and show the world from a new view.
The Power of Leading Lines in Aerial Compositions
Leading lines are key in drone photography. They help viewers move through your images, adding depth and movement. You’ll see them in aerial shots, like winding roads, rivers, and buildings.
Learning to use leading lines can make your drone videos stand out. It turns simple scenes into stories that grab attention. By picking the right lines, you highlight important parts of your shot, making it more exciting.
Nature is full of leading lines. Think of coastlines, mountain paths, and forest edges. In cities, streets, bridges, and tall buildings work well too. The trick is to spot these lines and use your drone to show them off.
When making a hyperlapse, think about how leading lines can tell your story. A road can show progress or a journey. A river can symbolize time passing. Using these lines with your story makes your shots more powerful and meaningful.
| Leading Line Type | Examples | Effect in Composition |
|---|---|---|
| Natural | Rivers, coastlines, tree lines | Organic flow, nature’s patterns |
| Man-made | Roads, bridges, railways | Structure, human intervention |
| Architectural | Skyscrapers, monuments, stadiums | Geometric shapes, urban landscape |
Leading lines work best when they’re subtle. They should lead the eye to the main subject without taking over. With time, you’ll get better at adding these lines to your drone shots, making your hyperlapses unforgettable.
Planning Your Hyperlapse Drone Flight
Starting with hyperlapse drone photography means planning carefully. You need to scout locations, think about the lighting, and map out your flight path. These steps are key to making amazing aerial videos.
Scouting Locations for Optimal Leading Lines
Finding the right spots is crucial for great shots. Look for roads, rivers, or buildings that create leading lines. Cities have straight lines from buildings and streets. Nature offers curves from coastlines or mountains.
Considering Time of Day and Lighting Conditions
Lighting is very important for drone videos. The golden hours, just after sunrise and before sunset, give a warm, soft light. Early morning flights are usually calm, perfect for steady footage. Check your spot at different times to find the best light.
Mapping Out Your Flight Path
After picking your spot, plan your flight in detail. Make a path that shows off your leading lines well. Plan for smooth moves and multiple takes. Always follow drone rules during your planning.
| Flight Planning Step | Considerations |
|---|---|
| Location Scouting | Leading lines, visual interest, accessibility |
| Lighting Assessment | Time of day, weather conditions, shadow patterns |
| Flight Path Mapping | Smooth transitions, regulatory compliance, battery life |
Planning your hyperlapse drone flight well sets you up for great aerial videos. This prep helps you use your location and lighting to the fullest. It leads to footage that looks amazing.
Setting Up Your Drone for Hyperlapse Shots
Getting your drone ready for hyperlapse photography means paying attention to settings and camera setup. These steps are key for amazing aerial shots.
Begin by setting your camera to manual mode. This keeps the exposure steady in your hyperlapse shots. Adjust your ISO, shutter speed, and aperture for the lighting at your location.
For smooth footage, set your shutter speed to twice your frame rate. If you’re shooting at 30 frames per second, use a 1/60 shutter speed. In bright places, think about using ND filters to keep the shutter speed right without overexposing your shots.
Use features like subject tracking or waypoint flying if your drone has them. These can make your hyperlapse shots more stable and precise.
- Set your drone to shoot in RAW format for maximum editing flexibility
- Use the interval shooting mode, setting it to take a photo every 2-5 seconds
- Ensure your drone’s batteries are fully charged before flight
| Setting | Recommended Value | Purpose |
|---|---|---|
| ISO | 100-400 | Minimize noise in images |
| Aperture | f/4 – f/8 | Balance sharpness and exposure |
| White Balance | Manual | Maintain color consistency |
| Focus | Manual | Prevent focus shifting |
Remember, practice makes perfect. Try different settings and camera setups to see what works best for your aerial project.
Use Leading Lines for Compelling Hyperlapse Drone Compositions
Creating eye-catching aerial shots with your drone takes skill and creativity. Leading lines are key in drone filming, guiding the viewer’s gaze and adding depth. Let’s dive into how to use them well in hyperlapse drone shots.
Identifying Natural and Man-Made Leading Lines
Search for strong straight lines around you. Rivers, roads, and buildings work great as leading lines. In cities, tall buildings and bridges give you straight and diagonal lines. Nature offers curved paths, coastlines, or mountain ridges that lead the eye through your shot.
Positioning Your Drone to Maximize Leading Lines
Try different angles and heights to find the best view. Line up your drone with the rule of thirds grid for balance and interest. Place your drone at the start of a line, letting it stretch back for depth.
Techniques for Following Leading Lines in Motion
For hyperlapse shots, keep moving smoothly. Stick to the line at a steady speed and direction to improve the flow. Start at one end and move along steadily. This makes your scene pull viewers in.
| Leading Line Type | Examples | Drone Technique |
|---|---|---|
| Natural | Rivers, coastlines, mountain ridges | Follow curve smoothly, maintain altitude |
| Man-made | Roads, bridges, train tracks | Fly parallel, gradual ascent or descent |
| Architectural | Skyscrapers, monuments, stadiums | Orbit structure, reveal surroundings |
Master these techniques to make your hyperlapse drone shots stand out. Practice and improve your skills for amazing aerial photos and drone films.
Mastering Camera Settings for Hyperlapse Drone Photography

Getting the hang of camera settings is crucial for amazing hyperlapse drone shots. Your drone’s camera lets you tweak exposure, frame rates, and image quality. Let’s explore the basics you should know.
Shutter speed is key in hyperlapse photography. Try out different speeds to balance motion blur and sharpness. For silky smooth hyperlapses, use slower shutter speeds like 1/30 or 1/60 of a second.
Keep your ISO low to cut down on noise in your footage. Begin with ISO 100 and tweak as the lighting changes. This keeps your hyperlapse images looking great.
Frame rates matter too. Most drones let you choose from 24 to 60 frames per second. Faster rates give you smooth slow-motion, while slower ones create a more film-like effect.
| Frame Rate | Effect | Best Used For |
|---|---|---|
| 24 fps | Cinematic look | Artistic hyperlapses |
| 30 fps | Balanced smoothness | General purpose |
| 60 fps | Ultra-smooth slow motion | Fast-moving subjects |
For more flexibility in editing, shoot in RAW format. This saves more image data, letting you adjust exposure and color later.
Get to know your drone’s smart flight modes and camera features. Many drones have built-in hyperlapse modes. These can make the process easier and help you get pro-level results.
Post-Processing Techniques for Hyperlapse Drone Footage
After you’ve shot your hyperlapse drone footage, the next step is crucial. This is where you use video editing techniques to make your footage look amazing. Let’s look at some key methods to improve your hyperlapse videos.
Stabilizing Your Footage
For hyperlapse videos, having smooth footage is key. Use tools in your editing software to fix camera shake. This makes sure your viewers enjoy the movement without getting distracted by shaky footage.
Color Grading and Exposure Adjustment
Color correction is important for your footage. Adjust things like exposure, contrast, and saturation to keep the look consistent. This step sets the mood and highlights important parts of your hyperlapse.
Adding Motion Blur for a Smoother Effect
Motion blur can make your hyperlapse look more like a movie. It makes fast movements look smoother by simulating the natural blur our eyes see. Try different blur levels to see what works best for your video.
| Post-Processing Step | Purpose | Software Tools |
|---|---|---|
| Stabilization | Remove camera shake | Warp Stabilizer, ReelSteady |
| Color Grading | Enhance visual appeal | Lumetri Color, DaVinci Resolve |
| Motion Blur | Create smoother transitions | After Effects, Premiere Pro |
The secret to great post-processing is making small changes that fit your footage. With time, you’ll get better at using these effects to make your hyperlapse drone videos stand out.
Creative Ideas for Using Leading Lines in Hyperlapse Drone Videos
Take your drone shots to new heights with creative leading lines. These lines can turn your hyperlapse videos into engaging stories. Let’s dive into ways to use leading lines for amazing visual stories.

Roads and rivers are great for dynamic shots. They create curved lines that add motion and direction to your hyperlapse. This makes your aerial shots more interesting and leads the viewer’s eyes through the scene.
Try using converging lines for a cool effect. Tall buildings or tree-lined paths can make these lines meet in a powerful way. As your drone moves, it draws attention to a point, adding drama to your shots.
Vertical lines offer unique shots too. Skyscrapers, monuments, or wind turbines can be striking guides. Mixing these with horizontal movement adds contrast and interest to your stories.
Change up your leading lines to tell a story. Start with a winding road, then switch to a river, and end with skyscrapers. This creates a journey through different scenes, making your aerial shots more engaging.
| Leading Line Type | Examples | Visual Effect |
|---|---|---|
| Curved | Roads, Rivers | Dynamic flow, Smooth transitions |
| Converging | Buildings, Tree-lined paths | Depth, Perspective |
| Vertical | Skyscrapers, Monuments | Contrast, Height emphasis |
| Transitioning | Combining multiple types | Narrative flow, Visual journey |
Use these ideas in your hyperlapse drone videos to make stories that grab your audience. These tips will help you improve your drone skills and create stunning visuals.
Common Challenges and How to Overcome Them
Hyperlapse drone photography has its challenges. To master it, you need troubleshooting skills, drone piloting techniques, and creative aerial photography methods. Let’s look at common challenges and how to solve them to improve your hyperlapse photography.
Keeping your drone steady is key for smooth hyperlapse videos. Practice flying in different weather to get better control. Use your drone’s smart flight modes for consistent movements. For changing light, use neutral density filters to keep exposure steady throughout your shoot.
Battery life can limit your time flying. Plan your flight paths to make the most of your battery. Always have extra batteries on hand and think about a portable charger for longer shoots. Wind can make flying hard. To fight this, slow down and use your drone’s features to resist the wind.
| Challenge | Solution |
|---|---|
| Inconsistent flight path | Use intelligent flight modes, practice in various conditions |
| Changing light conditions | Apply neutral density filters, adjust camera settings |
| Limited battery life | Plan efficient routes, carry spare batteries |
| Wind interference | Adjust flight speed, utilize wind resistance features |
Remember, success in hyperlapse drone photography is all about being prepared. Scout locations ahead of time, have backup plans, and always put safety first. With practice and determination, you’ll beat these challenges and make amazing hyperlapse videos.
Legal and Safety Considerations for Drone Hyperlapse Photography
When making hyperlapse videos with a drone, it’s key to know and follow the local drone laws. Before flying, look up the rules in your area. Many places have rules about where you can fly, how high, and what you can take pictures of.
Always put safety first when flying. Keep an eye on your drone at all times and don’t fly over people or cars. Stick to the maximum height allowed, usually 400 feet in the U.S. But, remember, different places have their own rules, so always check before flying.
If you’re flying your drone for work, you might need special permits or licenses. Commercial drone pilots need a Part 107 certificate from the FAA. Keep up with any changes in drone laws to fly legally and safely. By doing this, you can make amazing hyperlapse videos and stay safe.


