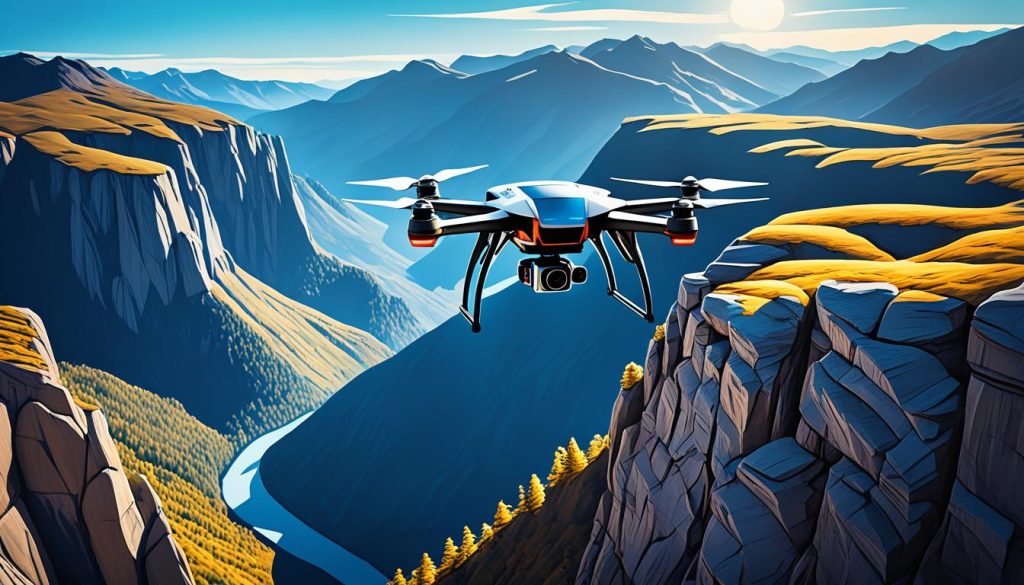
You can make your drone shots look amazing by using AI HDR processing. This tech uses advanced photography tricks to balance the light. It helps keep details bright in both the light and dark parts of your photos.
AI HDR processing blends many photos of a scene together. This makes your drone photos have a wide range of light and shadow. AI does this work for you, making your shots look real and full of life.
This new way of enhancing photos is great for drone photographers who face tough lighting. It’s perfect for taking pictures of cities at sunset or wide landscapes with different levels of brightness. With AI HDR, you can easily get professional-looking photos.
Understanding AI HDR Processing for Drone Photography
AI HDR processing changes drone photography by making high-contrast shots look amazing. It uses artificial intelligence and dynamic range compression to create stunning images.
What is High Dynamic Range (HDR) imaging?
HDR takes many shots of a scene and blends them into one. This makes details clear in bright and dark spots. It lets cameras capture a wider range of light, making photos look more real.
The role of AI in HDR processing
AI makes HDR processing faster by doing exposure merging and contrast optimization automatically. It looks at each shot and picks the best parts for a natural-looking image. This saves time and gives consistent results, better than doing it by hand.
Benefits of AI HDR for drone shots
AI HDR processing has many benefits for drone photographers:
- Improved detail in shadows and highlights
- Enhanced visual appeal through contrast optimization
- Greater flexibility in challenging lighting conditions
- Reduced noise in low-light situations
- Time-saving automated processing
Using AI HDR technology, drone photographers can make their images stand out. They can capture more light and detail, making their work look professional with less effort.
Essential Equipment for AI HDR Drone Photography
To get amazing high-contrast shots, you need the right gear. Let’s look at the key equipment for AI HDR drone photography. We’ll focus on drones, camera sensors, and important accessories.
Recommended Drones for HDR Capture
For great HDR results, check out these drones:
- DJI Mavic 3: Has a Hasselblad camera with a 4/3 CMOS sensor
- Autel EVO II Pro: Comes with a 1-inch sensor and adjustable aperture
- Skydio 2+: Known for its flying skills and HDR video
Camera Sensors and Their Importance
Camera sensors are key in drone photography. Bigger sensors do better in scenes with lots of contrast. They give you:
- Better dynamic range
- Improved low-light performance
- Less noise at high ISOs
For the best HDR, choose drones with 1-inch sensors or bigger.
Additional Accessories for Optimal Results
Boost your aerial photography with these extras:
- ND filters: Help control how much light gets in for balanced exposure
- Spare batteries: Let you fly longer for more shots
- Landing pad: Keeps your drone safe from debris when taking off and landing
- Tablet mount: Gives you a bigger screen for framing shots better
With the right drone, camera sensor, and accessories, you’ll be ready to take stunning HDR photos from above.
Preparing Your Drone for AI HDR Shots
Getting your drone ready for AI HDR photography is key to capturing amazing high-contrast images. The setup of your drone is crucial for the quality of your aerial shots. Let’s look at the important steps for HDR configuration and aerial photography preparation.
Begin by calibrating your drone’s camera. This makes sure colors are accurate and exposure is right. Then, set the bracketing mode for taking several shots at different exposure levels. Most drones let you capture 3 to 5 shots.
Adjust your drone’s camera settings for the best HDR shots. Lower the ISO to cut down on noise. Set a balanced aperture for depth and choose the right shutter speeds for each shot. Remember, keeping your drone steady is important, so use AI features for smooth flying.
- Calibrate camera for accurate colors
- Enable bracketing mode for multiple exposures
- Adjust ISO, aperture, and shutter speed
- Utilize AI-assisted flight modes for stability
Get to know your drone’s AI features that help with HDR captures. These include automatic exposure adjustment, smart flight modes, and image stabilization tech. By using these tools, you’ll be ready to take stunning high-contrast aerial shots.
| Setting | Recommended Range | Purpose |
|---|---|---|
| ISO | 100-400 | Minimize noise |
| Aperture | f/4 – f/8 | Balance depth of field |
| Shutter Speed | 1/60s – 1/2000s | Vary exposure levels |
| Bracketing | 3-5 shots | Capture full dynamic range |
Techniques for Capturing High-Contrast Scenes with Drones
Mastering exposure blending techniques is key for stunning drone shots. By learning HDR camera settings and aerial composition, you can take your drone photos to the next level.
Bracketing Exposures for HDR
To make HDR images, take at least three shots of the same scene at different exposures. Set your drone camera to bracket mode for automatic shots at various shutter speeds. This method captures details in both bright and dark areas.

Optimal Camera Settings for HDR Drone Photography
Here are some tips for HDR camera settings:
- Use manual mode for consistent results
- Set a fixed aperture and ISO
- Vary only the shutter speed between shots
- Shoot in RAW format for maximum editing flexibility
Composition Tips for High-Contrast Scenes
Composition is crucial for HDR drone shots. Keep these tips in mind:
- Look for scenes with a mix of bright and dark areas
- Avoid harsh midday sun; opt for golden hour lighting
- Use partially cloudy skies to add drama to your shots
- Utilize your drone’s stability features for well-aligned images
| Exposure Level | Shutter Speed | Aperture | ISO |
|---|---|---|---|
| Underexposed | 1/500 sec | f/8 | 100 |
| Properly Exposed | 1/250 sec | f/8 | 100 |
| Overexposed | 1/125 sec | f/8 | 100 |
AI-Powered HDR Software Options for Drone Photographers
Drone photographers now have many AI-powered HDR software options. These tools make enhancing your drone photos easy, giving you stunning shots with high contrast.
Luminar Neo’s HDR Merge extension is a top choice. It combines AI editing with a wide range of tools. This makes it perfect for drone photographers who want to make their work easier.
Photomatix Pro 7 is also a favorite, known for its strong deghosting feature. This is great for drone shots with moving objects, making them clear and crisp.
Adobe Lightroom has an easy-to-use interface and HDR merge tools built-in. If you’re already using Adobe, this could be the easiest option for HDR software.
For those looking for other choices, EasyHDR and Oloneo HDR offer special features for HDR needs. These are great for drone photographers on specific projects.
Comparing HDR Software Features
| Software | AI Capabilities | Deghosting | User Interface |
|---|---|---|---|
| Luminar Neo | Advanced | Good | Modern, intuitive |
| Photomatix Pro 7 | Moderate | Excellent | Feature-rich, complex |
| Adobe Lightroom | Advanced | Good | Familiar, integrated |
| EasyHDR | Basic | Moderate | Simple, straightforward |
| Oloneo HDR | Moderate | Good | Specialized, technical |
When picking HDR software for drone photos, think about AI features, ease of use, and the features you need. Trying out different options can help you find the best tool for your high-contrast drone shots.
Use AI HDR Processing to Capture Stunning High-Contrast Drone Shots
AI HDR processing changes drone photography by making high-contrast shots look amazing. This method highlights your aerial photos, making them stand out.
Step-by-step guide to AI HDR processing
Begin by importing bracketed photos into special software. AI then blends these images, setting the stage for more improvements. Here’s what to do next:
- Import your bracketed drone shots
- Use AI software to merge exposures
- Apply initial tone mapping
- Adjust global settings
- Fine-tune local areas

Adjusting tone mapping and contrast
Tone mapping is key for a natural look in HDR images. Adjust contrast, saturation, and highlights/shadows to balance the scene. Your goal is a realistic image that shows the full range your drone captured.
Fine-tuning colors and details
Next, enhance specific parts of your image. Focus on things like bright lawns or detailed buildings. Use color tools to highlight the scene’s true beauty without overdoing it.
| Processing Step | Key Adjustments | Goal |
|---|---|---|
| Tone Mapping | Contrast, Highlights, Shadows | Balanced exposure |
| Color Adjustment | Saturation, Hue, Vibrancy | Natural color representation |
| Detail Enhancement | Sharpness, Clarity, Texture | Crisp, defined elements |
Mastering AI HDR processing turns your drone shots into stunning images. They capture the beauty of the sky from above.
Overcoming Common Challenges in AI HDR Drone Photography
AI HDR drone photography can produce amazing results, but it has its challenges. Let’s look at some common issues and how to solve them.
One big challenge is dealing with movement. Fast-moving objects or windy conditions can cause image ghosting. This happens when different exposures don’t line up right. To fix this, use HDR software with ghost removal features. These tools can find and fix misalignments, making your images cleaner.
Exposure bracketing is key for HDR, but it can be hard with drones. Make sure your drone can do auto-bracketing or learn to adjust exposure manually between shots. This helps capture the full range of light and dark areas in scenes with lots of contrast.
Finding the right balance between realism and drama in HDR images is tricky. It’s easy to make photos look too processed. Aim for subtle changes that show off the dynamic range without overdoing it. Try different tone mapping settings to find what works best.
| Challenge | Solution |
|---|---|
| Image ghosting | Use ghost removal software |
| Windy conditions | Increase shutter speed, use stabilization |
| Exposure bracketing | Use auto-bracketing or manual adjustments |
| Unrealistic effects | Apply subtle tone mapping |
Finally, be ready for bigger file sizes with HDR. You’ll have more data to process and store. Get high-capacity memory cards and external drives to keep up with your HDR drone photos.
Advanced AI HDR Techniques for Drone Cinematography
Drone cinematography is getting better with advanced AI HDR techniques. These methods are changing what we can do in the sky. They make aerial photography and videography more amazing.
Creating HDR Panoramas
HDR panoramas make your drone shots look incredible. By combining many HDR images, you get wide-angle views with lots of detail. It’s great for showing off big landscapes or cityscapes.
Blending Multiple HDR Images for Ultra-Wide Dynamic Range
For more light and detail, try blending many HDR images. This method shows details in bright highlights and dark shadows. It’s a way to capture everything in your scene.
HDR Time-Lapse Sequences from Drone Footage
HDR time-lapse sequences from drones look amazing. They show how light changes over time. With planning and precise drone control, you can make your videos look professional and impressive.
Source Links
- https://accurova.medium.com/hdr-photography-mastering-high-dynamic-range-c03a63248117
- https://www.pixflows.com/photo-tips/real-estate-photo-tips/how-to-hdr-in-aerial-real-estate-photography/
- https://www.photoandvideoedits.com/blog/which-is-the-best-hdr-software-for-professional-real-estate-photo-editors


