To find the best spots for drone light painting, mix online tools with visits to the location. This method helps you make amazing aerial photos and night scenes. It also helps you get better at long exposure photography.
Drone light painting lets you explore new creative ideas in aerial photography. By scouting well, you can find special spots for capturing beautiful night scenes. Tools like Google Earth let you see 3D maps from home. Apps such as PhotoPills help plan your photo shoots.
When looking for places for drone light painting, think about height limits, how good the composition is, and the weather. Choose spots with little light pollution to make your long exposure photos better. Always remember to fly safely and follow the law, especially at night.
Doing your homework and planning well prepares you to make stunning drone light painting shots. These shots will show off the beauty of aerial photography at night.
Understanding Drone Light Painting Photography
Drone light painting photography combines flying drones with long exposure shots to make beautiful light trail images. It’s a new way to see landscapes and cityscapes from above. This method goes beyond regular photography, giving us a fresh view of the world.
What is drone light painting?
It’s about using a drone with LED lights to draw patterns in the sky. At the same time, a camera takes a long exposure shot. This creates amazing light trails that seem to hover in the air. It adds a magical touch to your drone photos.
Equipment needed for drone light painting
To start with drone light painting, you’ll need certain gear:
- A drone with programmable flight paths
- Bright LED lights that attach to your drone
- A camera that can take long exposure shots
- A strong tripod for your camera
- A remote shutter release or intervalometer
Basic techniques and principles
To master drone light painting, learn about aerial and light trail photography. Plan your flight and camera settings first. Use manual mode, set a low ISO, and a small aperture for clear images. Try exposure times from 10 seconds to minutes, based on what you want to achieve. Move your drone in patterns while the camera’s shutter is open, making beautiful light designs in your photo.
Remember, getting better takes practice in this tough yet rewarding photography type. With time, you’ll find many ways to make stunning drone light paintings. These will amaze people and show off your artistic side.
The Importance of Location Scouting for Aerial Photography
Location scouting is key for aerial photography. It helps you find the perfect spot for your drone light painting. This can make your photos stand out and capture beautiful natural scenes.
Scouting lets you spot unique features in the landscape that will improve your aerial shots. By checking out places before you go, you can see if they’re easy to get to and plan your shots. This way, you can make the most of your time and get amazing photos.
Tools like Google Earth have changed how aerial photographers scout locations. You can see places in 3D and plan your drone’s flight paths. This lets you see how your shots will look before you even go to the location.
- Identify unique landscape features
- Assess site accessibility
- Plan drone flight paths
- Visualize potential compositions
Putting time into scouting locations helps you take more powerful and beautiful aerial photos. You’ll know what to look for and how to capture the best of each place with your drone.
Utilizing Google Earth for Virtual Location Scouting
Google Earth changes how drone photographers find locations. It lets you check out places from home, saving time and effort. With Google Earth, you can see landscapes in detail, making it easier to plan your drone shots.
Exploring 3D Terrain Features
Google Earth’s 3D view gives you a real feel of the terrain. You can see the land’s shape, plants, and buildings up close. By rotating and tilting the view, you can see how the land changes and find special spots for your drone photos.
Identifying Potential Compositions
Google Earth is great for finding interesting parts of the landscape. Look for things like rivers, cliffs, or forests that could make your photos stand out. Cities might have cool patterns or landmarks you can use in your shots.
Assessing Accessibility and Launch Points
Scouting online helps you see if a place is easy to get to. Find roads, parking, and where you can launch your drone. Watch out for things like power lines or tall buildings that could get in the way. This way, you’ll know exactly what to expect when you get there.
| Virtual Scouting Benefits | Google Earth Features |
|---|---|
| Time-saving pre-planning | 3D terrain visualization |
| Composition brainstorming | Measurement tools |
| Safety assessment | Street View integration |
Leveraging Photography Apps for Drone Flight Planning
Photography apps have changed how we plan drone flights. They have powerful tools to make aerial photography better. Apps like Photopills have special features for drones that help with finding the best spots and composing shots.
These apps let you check out locations before flying your drone. You can see what your drone can capture from different heights and angles. This makes planning your shots for light painting easy.

Planning your flight path is easy with these apps. You can map out your route, set stops, and figure out the best height for each part of your flight. This way, you make sure you get everything you need for your light painting shots.
Some important features to look for in drone photography apps include:
- 3D terrain visualization
- Sun position tracking
- Augmented reality views
- Flight time estimators
- No-fly zone alerts
Using these apps can make your work easier and help you get amazing drone shots. Take time to check out different apps and find one that fits your needs and drone.
| App Name | Key Features | Compatibility | Price |
|---|---|---|---|
| Photopills | Sun/moon tracking, AR view, exposure calculator | iOS, Android | $9.99 |
| Litchi | Waypoint missions, focus tracking, panorama mode | iOS, Android | $24.99 |
| DroneDeploy | Automated flight paths, 3D mapping, cloud processing | iOS, Android | Free – $299/month |
| UAV Forecast | Weather predictions, flight condition alerts, KP index | iOS, Android | Free – $2.99/month |
Scout Perfect Locations for Breathtaking Drone Light Painting Compositions
Finding the perfect spot is key for amazing drone light painting shots. You need to think about many things to make your aerial photos stand out. Let’s look at what to consider when picking the best places.
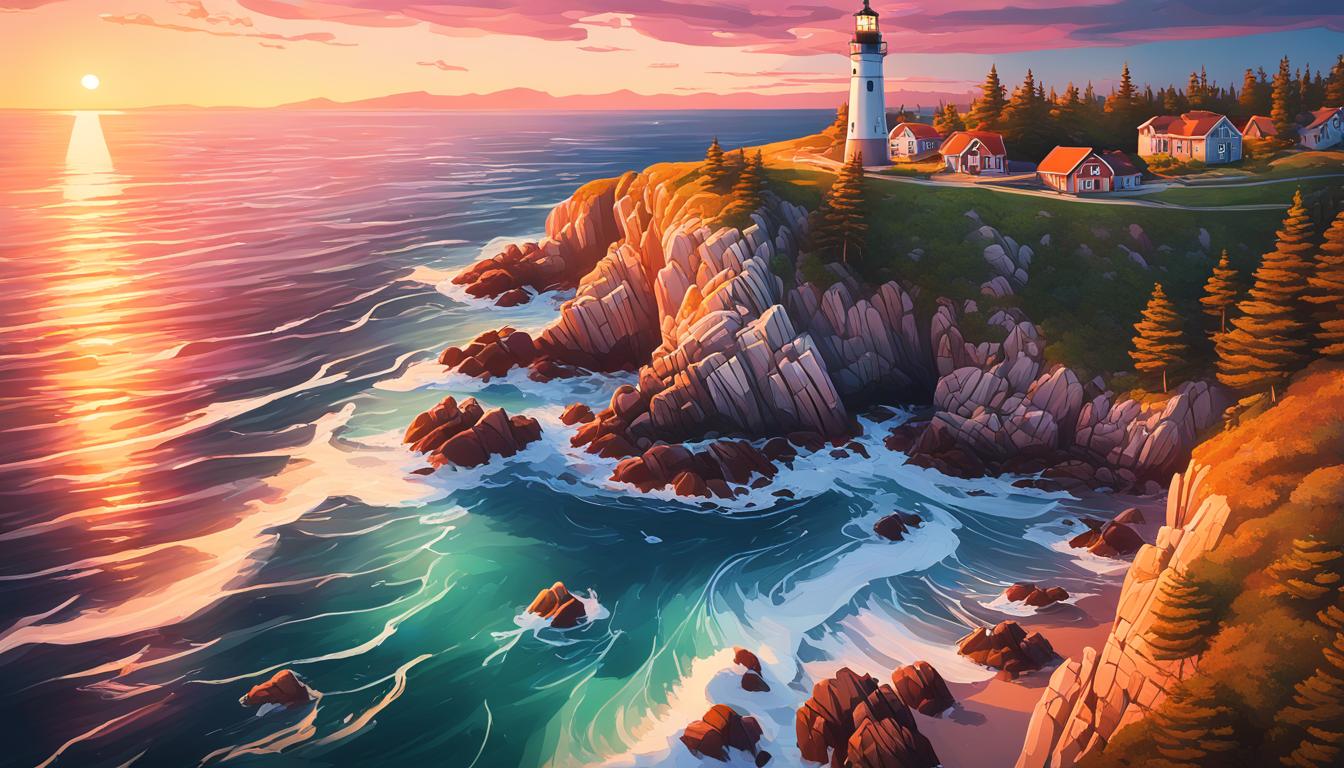
Identifying Unique Landscape Features
Search for special landscape features that add depth to your shots. Look for mountains, coastlines, forests, and city skylines. Find spots with features that match your artistic style.
- Natural formations: Cliffs, waterfalls, canyons
- Architectural landmarks: Bridges, towers, historic buildings
- Water bodies: Lakes, rivers, oceans
Considering Light Pollution and Dark Sky Areas
For the best dark sky photos, find places with little light pollution. Dark skies show more stars and celestial objects, making your light paintings pop. Use online maps to find spots away from cities.
Evaluating Foreground and Background Elements
Check out the ground and sky around you to add depth to your shots. Use interesting things in the front and back to lead the viewer’s eye. Make sure your light painting fits well with the scene.
| Foreground Elements | Background Elements |
|---|---|
| Rocks, trees, structures | Mountain ranges, cityscapes |
| Reflective surfaces (water, glass) | Star-filled skies, aurora borealis |
| Textured terrain (sand dunes, fields) | Distant lights, cloud formations |
Think about these things to find great spots for drone light painting. Always follow local rules and stay safe while exploring.
Weather Considerations for Drone Light Painting
Weather conditions are key to making amazing drone light painting photos. You must watch the forecast and adjust your plans as needed. Let’s see how different weather affects your drone art.

Fog adds a magical feel to drone light paintings. It makes scenes dreamy, softens lines, and adds depth. Early mornings and late evenings are best for these shots.
Backlighting objects creates dramatic silhouettes. The golden hour, right after sunrise or before sunset, is ideal. Place your drone to catch the sun behind objects for striking images.
Long shadows add texture and depth to your drone light paintings. As the sun sets, shadows grow, making your shots more interesting. Try different angles to enhance this effect.
- Check wind speeds before flying
- Monitor humidity levels for optimal visibility
- Be aware of sudden temperature changes
- Watch for cloud formations that could enhance your compositions
Safety is the top priority. Never fly in severe weather like thunderstorms or high winds. By understanding and using the weather, you can make stunning drone light paintings that show off the beauty around you.
Legal and Safety Considerations for Drone Photography
Drone photography lets you capture amazing aerial views, but you must know the laws and FAA rules. It’s important to follow these to stay safe and legal while taking photos from above.
Understanding Local Drone Laws
Learn the drone laws in your area before flying. These laws change by city, state, and location. Look out for places you can’t fly, height limits, and if you need to register. The FAA website has the latest on federal rules.
Obtaining Flight Permits
You might need special permits for some flights or areas. This is often needed for drones used for work or in certain airspace. Make sure to get any permits early to avoid problems on your shoot day.
| Type of Flight | Permit Required | Issuing Authority |
|---|---|---|
| Recreational in unrestricted areas | None (registration only) | FAA |
| Commercial operations | Part 107 Certificate | FAA |
| Flights in controlled airspace | LAANC approval | FAA |
Night Flight Safety
Flying at night needs extra care. Make sure your drone is well-lit and has reflective parts. Always keep an eye on it and use features like Return to Home (RTH) for safety. Safety should always come first, not getting the perfect photo.
Know the drone laws, get the right permits, and fly safely at night. This way, you can enjoy drone photography while following FAA rules. Flying responsibly keeps the sky open for everyone who loves drones.
Composition Techniques for Drone Light Painting
Mastering aerial composition is key to stunning drone light paintings. Start by applying the rule of thirds to your shots. Imagine your frame divided into a 3×3 grid and place key elements along these lines or at their intersections. This simple technique can dramatically improve your image’s visual appeal.
Leading lines are another powerful tool in your drone photography arsenal. Look for natural or man-made features that guide the viewer’s eye through the image. Rivers, roads, or even the light trails you create can serve as compelling leading lines, adding depth and interest to your compositions.
Experiment with different altitudes and angles to find unique perspectives. Flying lower can create a sense of intimacy, while higher altitudes offer sweeping vistas. Don’t forget to try panorama techniques to capture wider scenes. Many drones have built-in panorama modes, allowing you to stitch together breathtaking wide-angle shots.
Lastly, consider using filters to enhance colors and contrast in your drone light paintings. Neutral density filters can help you achieve longer exposures, while polarizing filters can reduce glare and boost color saturation. By combining these composition techniques, you’ll be well on your way to creating captivating aerial light paintings.


