To get sharp vertical panoramas in different lights, balance your camera settings well. Start by setting your ISO as low as you can. This helps avoid camera shake. Use ISO 100-400 in bright light.
In low light, slowly increase your ISO but watch out for noise. Also, use a strong tripod and a remote shutter release for the best shots.
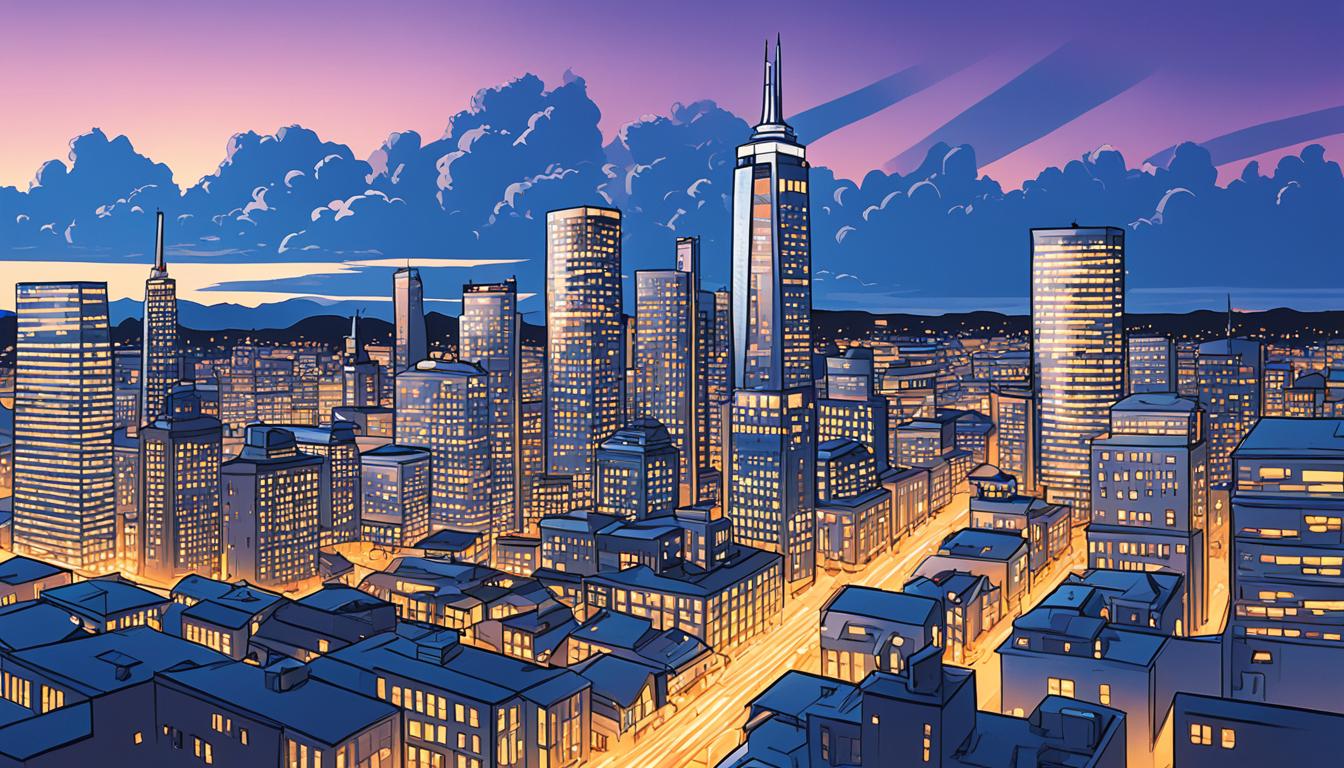
Vertical panoramas give a unique view, perfect for tall subjects like skyscrapers or waterfalls. But, getting sharp, high-quality images needs understanding exposure settings, especially ISO sensitivity. Whether it’s bright daylight or low light, knowing how to adjust ISO is crucial for great vertical panoramas.
Image quality in vertical panoramas depends on controlling noise and keeping details sharp. ISO sensitivity is key here. By adjusting ISO with aperture and shutter speed, you can get the right exposure for your vertical panoramas in any light. Let’s explore the techniques to improve your panoramic photography.
Understanding Vertical Panoramas in Photography
Vertical panoramas give us a special view in photography. They are tall, narrow shots with a height-to-width ratio of at least 2:1. Let’s dive into the world of vertical panoramas and their importance in landscape photography.
Definition and Characteristics
Vertical panoramas are made by joining many images taken from top to bottom. They are great for showing tall things like skyscrapers, waterfalls, or big mountains. The tall images make the scene look even more impressive.
Benefits in Landscape Photography
Vertical panoramas have many benefits in landscape photography:
- Capture more of a scene vertically
- Create unique compositions
- Emphasize the grandeur of tall subjects
- Provide a fresh perspective on familiar scenes
Challenges in Capturing Vertical Panoramas
Vertical panoramas are rewarding but also challenging:
- Selecting the right equipment, including a sturdy tripod and wide-angle lens
- Managing perspective distortion, especially with architectural subjects
- Maintaining consistent exposure across all frames
- Mastering stitching techniques for seamless final images
By understanding these aspects of vertical panoramas, you can improve your panoramic photography skills. You can create stunning, eye-catching images that are different from traditional landscape shots.
The Role of ISO Sensitivity in Panoramic Photography
ISO sensitivity is key in the exposure triangle for panoramic photos. It affects how well your images turn out in different lighting. Knowing how ISO impacts your shots helps you take amazing vertical panoramas.
Explaining ISO and Image Quality
ISO controls how well your camera sensor picks up light. A higher ISO lets you shoot in dimmer places, but it can make your photos grainy. This choice affects your camera’s performance, especially when the lighting is tough.
Balancing ISO with Exposure Settings
To get the best shot, balance ISO with aperture and shutter speed. In dimmer settings, you might up the ISO to keep shutter speed fast. This helps avoid blurry images but could make them grainier.
| Light Condition | ISO Range | Considerations |
|---|---|---|
| Bright Daylight | 100-400 | Low noise, crisp details |
| Overcast | 400-800 | Slight increase in sensitivity |
| Sunset/Sunrise | 800-1600 | Higher sensitivity, some noise |
| Night | 1600-6400+ | Significant noise, reduced detail |
ISO Considerations for Different Light
Change your ISO based on the lighting for your vertical shots. In bright light, use a low ISO to avoid noise. For indoor or twilight scenes, raise the ISO to get enough light and still keep your photos clear. Modern cameras can handle high ISOs well, but always check your gear’s limits for the best shots.
Essential Equipment for Vertical Panorama Photography
To get amazing vertical panoramas, you need the right gear. The tools you pick can greatly affect your photos. Let’s look at the key items you’ll need for stunning vertical shots.
Panoramic cameras are great for serious photographers. They give you a wider view and better resolution. If you don’t have one, a wide-angle lens works well. A 14mm lens can capture big scenes with little distortion.
Tripods are key for sharp vertical shots. They keep your camera still for shots taken in many frames, cutting down on shake. Choose a strong tripod with adjustable legs for uneven ground. Add a panoramic head for better control over your camera’s movement.
| Equipment | Purpose | Recommended Features |
|---|---|---|
| Panoramic Cameras | Capture wide field of view | High resolution, built-in stitching |
| Wide-Angle Lenses | Expand scene coverage | 14mm focal length, low distortion |
| Tripods | Ensure stability | Sturdy build, adjustable legs |
| Panoramic Heads | Control rotation point | Precise adjustments, level indicators |
Full-frame cameras are best for panoramic photos. They catch more light and details, making your images look better. When picking your gear, focus on stability and quality for amazing vertical panoramas.
Techniques for Capturing Sharp Vertical Panoramas
To get sharp, stunning vertical panoramas, you need to know some key techniques. These tips will help improve your panoramic photography skills.
Proper Camera Setup and Stabilization
First, place your camera on a strong tripod. Make sure it’s level for a straight vertical panorama. Don’t use image stabilization with a tripod to avoid blurring your shot.

Selecting the Right Focal Length and Aperture
For wide shots, pick a lens between 14-35mm. Set your aperture to f/8 or f/11 for the best depth of field. This balance ensures everything in the photo is sharp and well-lit.
Focusing Techniques for Vertical Panoramas
For precise focus, use manual mode. Focus on the hyperfocal distance for sharpness all over the panorama. This method keeps both the front and back of your photo clear.
- Use a stable tripod and level your camera
- Choose a wide-angle lens (14-35mm)
- Set aperture between f/8 and f/11
- Focus manually at the hyperfocal distance
- Disable image stabilization when using a tripod
Follow these tips to capture sharp, beautiful vertical panoramas. They’re perfect for showing off tall scenes and wide landscapes. Keep practicing and adjusting these settings for the best results in different situations.
Optimize ISO Sensitivity for Sharp Vertical Panoramas in Various Light
Mastering ISO sensitivity is crucial for sharp vertical panoramas in various lights. Your camera’s base ISO is best for bright scenes, offering a wide dynamic range. But, in dimmer scenes, you might need to up the ISO, which could add noise.
For scenes with lots of contrast, try exposure blending. This method combines several shots to capture both bright and dark areas. HDR panoramas go further, merging shots to make one image with more detail in shadows and highlights.
Nighttime panoramas are tricky. Go for longer exposures with lower ISOs to cut down on noise. This works great for cityscapes or starry skies. Make sure to balance your ISO with shutter speed to keep moving things like clouds or water sharp.
- Use base ISO for maximum dynamic range in good light
- Increase ISO carefully in low light situations
- Employ exposure blending for high-contrast scenes
- Choose long exposures with lower ISO for night panoramas
The aim is to balance noise reduction with enough light capture. Try out different ISO settings and editing techniques to get the best shots for your vertical panoramas.
Post-Processing Techniques for Vertical Panoramas
After taking your vertical panorama, it’s key to enhance the final look. This means stitching, reducing noise, and correcting colors to make your panoramic image stand out.
Stitching Software and Methods
Stitching software is crucial for merging your images smoothly. Tools like PTGui and Adobe Photoshop are top choices. They line up and blend your shots into one panoramic view. For the best quality, process your images in RAW during stitching.
Noise Reduction in High ISO Images
High ISO settings can bring noise, especially in dim light. Noise reduction algorithms can clean up your shots without losing details. Apply these methods carefully to keep important parts of your panorama sharp.
Color Correction and Exposure Blending
It’s vital to keep colors and exposure consistent across all your frames for a smooth panorama. Use color correction tools to balance tones. Exposure blending techniques are great for scenes with big contrasts, making the final image balanced.
| Post-Processing Step | Tool/Technique | Purpose |
|---|---|---|
| Image Stitching | PTGui, Adobe Photoshop | Combine multiple images into a seamless panorama |
| Noise Reduction | Noise reduction algorithms | Reduce image noise while preserving detail |
| Color Correction | Color matching tools | Ensure consistent colors across all frames |
| Exposure Blending | HDR techniques | Balance exposure in high-contrast scenes |
Try image stacking for the sharpest panorama possible. This method combines several exposures of the same scene. It reduces noise and boosts detail.

Capturing Vertical Panoramas in Challenging Light Conditions
Vertical panoramas give us unique views, but they can be hard to capture in tough light. You’ll need to tweak your approach for night, golden hour, blue hour, and scenes with lots of contrast.
Golden hour brings warm, soft light perfect for vertical panoramas. Use a low ISO and a tripod for stability. Bracket your shots to catch the sky and ground’s full color and detail.
Blue hour is a different story. It’s dark, so you’ll need longer shots. Up your ISO a bit and use a strong tripod. Aim for the contrast between daylight and city lights for dramatic shots.
At night, you’ll need higher ISOs. Start at 1600 and adjust as needed. Go for a wide aperture and long exposures to get enough light. For star trails, stack several shots together.
High contrast scenes need careful handling. Use graduated neutral density filters to balance bright skies with dark ground. Or, bracket your shots and blend them later for a balanced panorama.
| Light Condition | ISO Setting | Exposure Time | Aperture |
|---|---|---|---|
| Golden Hour | 100-400 | 1/60 – 1/15 sec | f/8 – f/11 |
| Blue Hour | 400-800 | 1/15 – 1 sec | f/5.6 – f/8 |
| Night | 1600-3200 | 5 – 30 sec | f/2.8 – f/4 |
| High Contrast | 100-400 | Varies | f/8 – f/11 |
These settings are just a starting point. Feel free to experiment and adjust based on your scene and goals. With time, you’ll get the hang of capturing stunning vertical panoramas in any light.
Creative Applications of Vertical Panoramas
Vertical panoramas open up exciting possibilities in photography. They let you capture tall subjects in ways standard formats can’t. Let’s explore some creative applications to boost your photography skills.
Showcasing tall subjects and architecture
Architectural photography shines with vertical panoramas. You can take shots of skyscrapers or monuments in one go. This method shows the grandeur and scale of tall structures, giving viewers a real feel of their height.
Creating unique landscape compositions
In landscape photography, vertical panoramas bring new views. They highlight the drama of waterfalls or the beauty of tall trees. This method draws the eye up, creating awe and focusing on nature’s vertical elements often missed in regular shots.
Experimenting with aspect ratios
Don’t stick to standard aspect ratios. Try ultra-tall images with 1:3 or 1:4 ratios for a dramatic effect. These unique proportions make your images pop and grab attention in a big way.
Mastering these creative techniques opens up new ways to show the world. Vertical panoramas are a powerful tool, letting you capture scenes in unique and compelling ways.


