Creating stunning vertical panoramas is easy with sunset lighting. This method blends the beauty of golden hour with vertical panoramas. It makes cityscapes look amazing during the most beautiful time of day.
Learning sunset lighting techniques can turn regular scenes into amazing vertical panoramas. You’ll learn how light and shadow work together at this special time. This lets you capture the city’s buildings, skyline, and mood in a dramatic way.
To use sunset lighting well, think about camera settings, timing, and editing. Mastering these will help you make vertical panoramas that show the city’s beauty in a new way. They highlight how natural light and city structures work together.
Understanding the Magic of Golden Hour
Golden hour photography brings out the beauty of soft light and warm tones. This magical time turns everyday scenes into stunning images, great for vertical panoramas. Let’s dive into the world of golden hour and see how it can boost your photography.
What is golden hour?
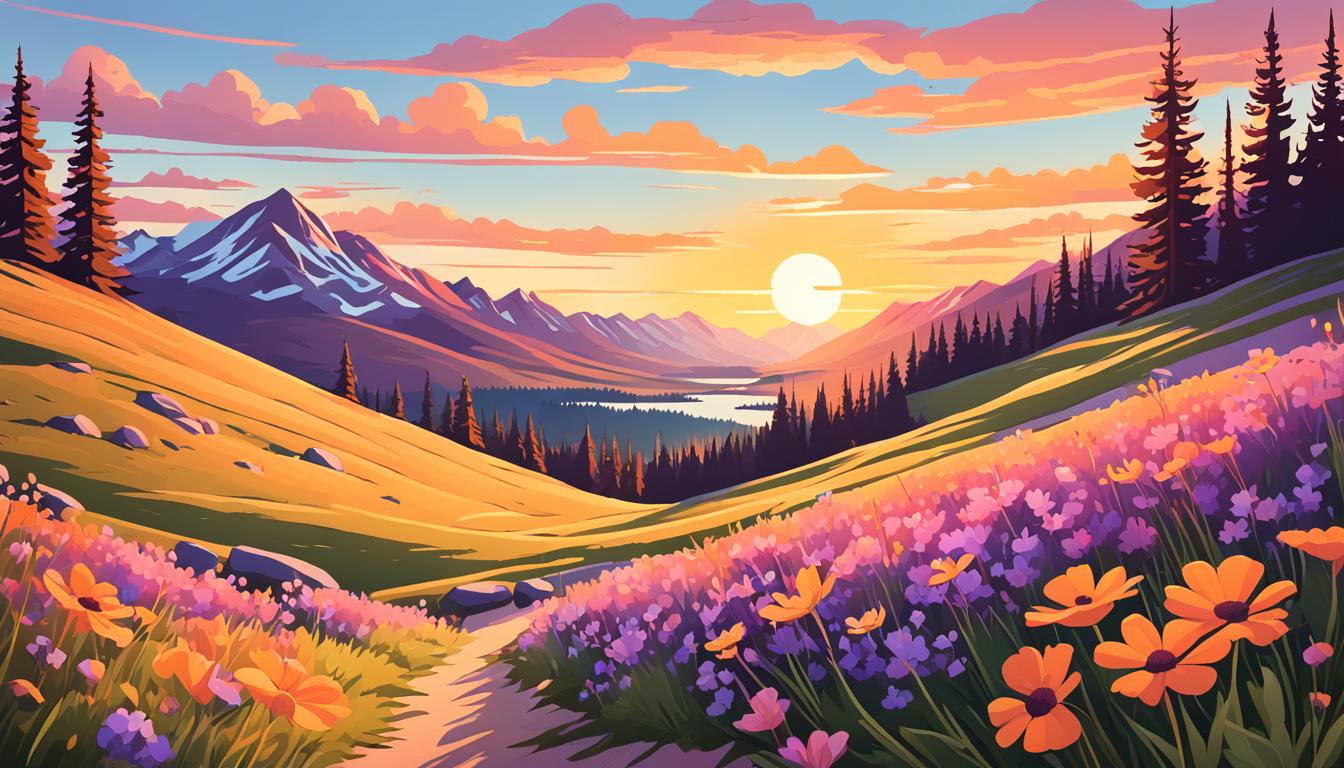
Golden hour is the short time right after sunrise or before sunset. The sun is low on the horizon, giving a gentle, warm light to the landscape. This soft light creates a dreamy feel, perfect for amazing photos.
Why is it ideal for vertical panoramas?
Golden hour’s lighting is perfect for vertical panoramas. Long shadows add depth and dimension. The warm tones make the sky vibrant, creating a beautiful backdrop for your shots.
Timing your shoot for optimal lighting
Timing is key for golden hour photography. Use apps or websites to find the golden hour times for your area. Arrive early to set up and find the best spots. The light changes fast, so be ready to adjust your settings.
| Golden Hour Characteristics | Benefits for Vertical Panoramas |
|---|---|
| Soft light | Reduces harsh shadows and creates a gentle, flattering effect |
| Warm tones | Enhances colors and adds a rich, golden glow to scenes |
| Long shadows | Adds depth and dimension to vertical compositions |
| Low sun angle | Creates dramatic lighting effects and interesting patterns |
Understanding golden hour’s magic helps you take stunning vertical panoramas. Use soft light and warm tones to improve your photography. Try different shots and watch your skills grow during this magical time.
Essential Equipment for Vertical Panorama Photography
To take amazing vertical panoramas, you need the right gear. You’ll need a few key items to make sure your shots are sharp and look professional.
A sturdy tripod is key for great panoramic shots. It keeps your camera still, preventing blur and ensuring your shots line up well. Choose a tripod with adjustable legs and a ball head for easy camera positioning.
A wide-angle lens is vital for capturing wide scenes in vertical panoramas. It lets you include more of the landscape in each shot, making the final image more immersive. Go for a lens with a focal length between 14-35mm for the best look.
For perfect alignment between shots, get a panoramic head. This special tool attaches to your tripod and lets you rotate your camera smoothly. It removes parallax errors and makes stitching your images together easier.
A remote shutter release is key for reducing camera shake. It lets you take photos without touching your camera, avoiding vibrations that could blur your shots. If you don’t have a remote, your camera’s timer can work as a substitute.
Think about adding filters to your gear. Polarizers can make sky colors pop and reduce glare. Neutral density filters let you take longer exposures in bright light. These filters can really boost the quality and creativity of your vertical panoramas.
Mastering Camera Settings for Sunset Shots
To capture stunning sunset shots, you need to understand the exposure triangle and camera settings. Adjusting your ISO, aperture, and shutter speed can make your images look amazing. This shows off the magic of the golden hour.
Optimal ISO Settings
For clear, grain-free sunset pictures, use an ISO of 100-400. This keeps your vertical panoramas sharp. If it’s dark, you might need a higher ISO, but try to keep it low.
Aperture Considerations
Use an aperture of f/8 to f/16 for panoramic shots. This makes sure everything in the picture is sharp. Try different f-stops to see what works best for your scene.
Shutter Speed Adjustments
Adjust your shutter speed to balance your shot. For handheld shots, use speeds between 1/60s and 1/200s to avoid shaking the camera. If you want motion blur in clouds or water, use a tripod for slower speeds.
White Balance Techniques
Set your white balance manually or use Kelvin settings to get the sunset colors right. This lets you capture the golden hour’s rich colors. Feel free to try different settings to get the look you want.
Getting good at these settings takes practice. Try bracketing your shots to capture different exposures. This gives you more options in editing. With practice, you’ll know how to use the exposure triangle for amazing sunset shots.
Composition Techniques for Vertical Panoramas
Mastering vertical panoramas means paying attention to how you compose them. By using key techniques, you can make your images stunning. These techniques guide the viewer’s eye and add depth to your shots.
The rule of thirds is a great tool for vertical panoramas. Imagine your frame split into three equal parts both vertically and horizontally. Place important elements along these lines or where they meet. This makes your composition balanced and pleasing to the eye.
Leading lines are key in vertical panoramas too. Use things like roads, rivers, or buildings to lead the viewer’s gaze. This creates a sense of movement and directs attention to your main subject.
Framing adds depth and context to your shots. Look for natural frames like arches, doorways, or branches to surround your subject. This technique creates layers and focuses attention on the main parts of your image.
Foreground interest is important in vertical panoramas. Include interesting elements in the bottom third of your frame. This could be rocks, flowers, or other objects that match your main subject. It helps create a sense of depth and scale.
| Technique | Purpose | Example |
|---|---|---|
| Rule of thirds | Balance composition | Horizon on top third line |
| Leading lines | Guide viewer’s eye | Winding path through landscape |
| Framing | Add depth and context | Archway framing distant mountains |
| Foreground interest | Create sense of scale | Colorful flowers in bottom third |
Try different perspectives and angles to find unique compositions. Experiment with low angles or reflections to add interest to your vertical panoramas.
Leveraging Sunset Lighting for Breathtaking Vertical Panoramas
Sunset lighting is perfect for making vertical panoramas look amazing. The warm colors and long shadows turn regular scenes into stunning photos. Let’s see how to use this magical light for your vertical shots.
Utilizing Directional Light
Side lighting during sunset adds depth and texture to your photos. Stand so the sun lights your subject from the side. This makes your vertical panoramas look more three-dimensional.
Capturing Dramatic Shadows
As the sun goes down, it makes long shadows on the ground. Use these shadows as lines in your photo. They lead the viewer’s eye and add drama to your shots.
Enhancing Depth and Dimension
Backlighting and rim lighting add depth to your photos. Put your subject between you and the sun for silhouettes or a glowing edge. This makes your subject stand out from the background, adding depth to your vertical shots.
| Lighting Technique | Effect | Best Used For |
|---|---|---|
| Side Lighting | Enhances texture and depth | Landscapes, architecture |
| Backlighting | Creates silhouettes and rim lighting | Portraits, nature scenes |
| Front Lighting | Illuminates details | Cityscapes, close-ups |
Try these lighting methods to make your vertical panoramas look amazing. The key is to play with light direction and quality. This will help you get the mood and impact you want in your photos.
Long Exposure Techniques for Stunning Sunset Panoramas
Long exposure photography can turn your sunset panoramas into stunning art. By using longer shutter speeds, you can capture the motion in clouds and make water look smooth. This adds a dreamy quality to your images. Let’s look at some techniques to improve your sunset panoramas.

To get amazing long exposures during sunset, you need neutral density filters. These filters block some light, letting you use longer shutter times even in bright scenes. Start with a 3-stop or 6-stop ND filter and try different strengths to find what works best.
When taking sunset panoramas, try capturing light trails from vehicles or boats. Place your camera on a steady tripod and use a remote shutter release to prevent shaking. Play with exposure times from 30 seconds to several minutes, depending on the effect you want.
| Exposure Time | Effect | Best For |
|---|---|---|
| 1-5 seconds | Slight motion blur | Fast-moving clouds, choppy water |
| 10-30 seconds | Smooth water, streaky clouds | Rivers, ocean waves, dramatic skies |
| 1-5 minutes | Ethereal landscapes | Star trails, misty waterfalls |
For silky smooth water effects, aim for exposure times between 10 to 30 seconds. This is great for seascapes, rivers, and waterfalls. Remember to adjust your aperture and ISO to keep your exposure right as you use longer shutter speeds.
Mastering these long exposure techniques lets you create stunning sunset panoramas. These images will captivate viewers with their ethereal beauty and sense of motion. Practice and try different settings to find what works best for your vision.
Panoramic Stitching: Tips and Tricks
Making stunning vertical panoramas is more than just taking great shots. The real magic is in stitching them together. Here are some key tips and tricks to make your panoramic photos stand out.
Choosing the Right Software
Choosing the right photo stitching software is key. Adobe Lightroom, Photoshop, and PTGui are top choices. They have advanced tools to align and blend your images well. Think about your skill level and budget when picking one.
Avoiding Common Stitching Errors
Here are some tips to avoid stitching mistakes:
- Overlap your frames by 30-50% for better alignment
- Use a panoramic head to reduce parallax error
- Shoot in manual mode for consistent exposure
- Keep your camera level to avoid distortion
Post-processing Techniques for Seamless Panoramas
After stitching, refine your panorama with these steps:
- Apply local adjustments to blend seams
- Use blending modes for smooth transitions
- Correct any misalignments manually
- Adjust color and exposure for a unified look
Mastering these stitching techniques will help you create stunning vertical panoramas. Remember, it takes practice, so don’t give up if your first tries aren’t perfect.
Incorporating Architecture into Sunset Vertical Panoramas
Vertical panoramas let you capture cityscapes in a unique way. Adding architectural elements to your sunset shots makes your photos stand out. The changing light and shadows bring depth, making buildings and their shapes pop.

Think about how big the buildings are compared to the sky. Tall buildings draw the eye up, making your photo feel taller. Look for special features like spires or domes to focus on.
Try different angles to see buildings from new views. Shoot from the ground up to show their size. Or, take photos from above to show the city spread out.
Watch how the sunset light changes with different buildings. Glass can reflect warm colors, while stone casts long shadows. These details make your photos more interesting.
Balance the buildings with the sunset’s colors. The sky’s warm colors can match the cool tones of buildings. This mix of nature and city design makes your photos special.
HDR Photography for High-Contrast Sunset Scenes
Sunset scenes often challenge photographers with their high contrast. The bright sky and dark foreground can go beyond what your camera can handle. HDR photography is a great way to capture these moments fully.
Begin by taking a series of shots at different exposures. Aim for 3 to 5 images, each 1 to 2 stops apart. This method makes sure you get details in both the bright and dark parts of the scene.
Then, use HDR software to merge these shots. Adobe Lightroom, Photomatix, or Aurora HDR are good choices. They combine your bracketed shots into one image with a wider dynamic range.
After merging, adjust the tone to balance the bright and dark areas. This brings out details in both the highlights and shadows. But be careful not to overdo it, as too much tone mapping can make the image look unnatural.
| Exposure | Purpose |
|---|---|
| -2 stops | Capture sky details |
| 0 (normal) | Balance exposure |
| +2 stops | Reveal shadow details |
The aim is to make an image that looks natural, like what you saw with your eyes. With practice, you’ll get better at HDR photography. You’ll be able to capture stunning sunset scenes with lots of detail and color.
Composition Rules for Impactful Vertical Panoramas
Creating stunning vertical panoramas takes a sharp eye for composition. By using key principles, you can take your sunset shots to the next level. Let’s dive into some essential rules to make your vertical panoramas stand out.
Rule of Thirds in Vertical Format
The rule of thirds is a key tool for balance in vertical panoramas. Picture your frame split into three equal parts vertically. Place important elements on these lines or where they meet to create balance. This method guides the viewer’s eye through the image, boosting its impact.
Leading Lines in Sunset Scenes
Sunset scenes are perfect for leading lines. Roads, rivers, or coastlines can lead the viewer’s gaze through your panorama. Use these elements to add depth and focus attention on your main subject. Try different angles to find the most engaging composition.
Framing Techniques for Panoramas
Framing adds depth and context to your vertical panoramas. Look for natural frames like tree branches or buildings to surround your subject. This technique adds layers to your image, pulling the viewer’s eye to the center. Don’t forget to use negative space to highlight your subject and show its size.
| Composition Technique | Purpose | Example |
|---|---|---|
| Rule of Thirds | Achieve visual balance | Placing horizon on upper third line |
| Leading Lines | Guide viewer’s eye | Winding road leading to sunset |
| Framing | Add depth and focus | Tree branches framing cityscape |
| Negative Space | Emphasize subject | Lone tree against vast sky |
Using these composition rules, you’ll make vertical panoramas that highlight the golden ratio and symmetry. Don’t forget to try different techniques to see what works best for your sunset scenes.
Post-Processing Techniques for Enhancing Sunset Panoramas
After taking your stunning vertical sunset panoramas, it’s time to make them shine. Color grading is a great way to boost the sunset’s rich colors. You can tweak the warmth, saturation, and tones to set the mood you want.
Local adjustments are key to balancing the light and contrast in your panorama. By making some areas brighter or darker, you can guide the viewer’s eye. Luminosity masks let you control highlights and shadows precisely, fine-tuning your image’s dynamic range.
Selective sharpening is vital for enhancing details without adding noise. Focus on sharpening important parts like buildings or textured landscapes. Keep the sky smooth. Try different blending modes to make your panoramas stand out.
The aim of post-processing is to improve your sunset panoramas while keeping them looking natural. Small changes can make a big difference. So, take your time and trust your artistic instincts as you work on your images.


