To start a RAW workflow for high-quality vertical panoramas, follow a series of steps. Use specific tools and techniques to capture, edit, and produce stunning images. This process helps you get exceptional detail and quality in your panoramas.
First, you need a camera that shoots in RAW format, a strong tripod, and a panoramic head. You’ll also need Adobe Lightroom for the first processing, PTGui for stitching, and Adobe Photoshop for final touches. With these tools, you can make high-quality vertical panoramas that highlight your photography skills.
The RAW workflow includes taking many overlapping photos, organizing them in Lightroom, and making initial adjustments. Then, stitch them in PTGui and finish in Photoshop. This method gives you full control over your images. It results in vertical panoramas with more detail and a wider range of colors.
Understanding RAW Image Processing for Vertical Panoramas
RAW image processing is key for making top-notch vertical panoramas. This format saves more data, giving you more control over the final look. Let’s dive into the perks, challenges, and main ideas of RAW workflow for vertical panoramas.
Benefits of shooting in RAW format
RAW files bring better image quality and flexibility in editing. They capture a wider range of light and color, making it easier to fix bright spots and dark shadows. This is super important for vertical panoramas, where light changes a lot from top to bottom.
- Greater color depth
- More detail preservation
- Improved white balance adjustments
- Enhanced exposure compensation
Challenges specific to vertical panoramas
Creating vertical panoramas has its own set of challenges. You need to handle changing light and make sure each shot lines up perfectly. Also, tall scenes or buildings can cause distortion issues.
Key concepts in RAW workflow
Knowing the basics of RAW workflow is crucial for amazing vertical panoramas. These ideas are the core of how you’ll process your images:
| Concept | Description | Importance |
|---|---|---|
| Non-destructive editing | Preserves original RAW data | Allows for multiple edits without quality loss |
| White balance adjustment | Corrects color temperature | Ensures consistent colors across the panorama |
| Exposure compensation | Balances light and dark areas | Crucial for managing varying light conditions |
| Color space management | Controls color representation | Ensures accurate colors across devices |
By getting these concepts down, you’ll be ready to work with RAW files and make incredible vertical panoramas. They’ll have top image quality and a wide range of colors.
Essential Equipment for Capturing Vertical Panoramas
To make stunning vertical panoramas, you need the right gear. A sturdy tripod is key. It keeps your camera steady and lets you make precise adjustments. Choose a tripod with a leveling base for perfectly aligned shots.
A geared head or ball head is vital for fine-tuning your camera. They let you make small, controlled movements. This is key for aligning your shots right. A slider rail also helps with nodal point alignment, reducing errors in your final image.
The panoramic head is the main piece for vertical panoramas. The Nodal Ninja is a top pick for photographers. It’s made for panoramic photography, offering smooth rotation and accurate indexing for consistent overlaps.
Your camera choice is important too. A full-frame camera with a wide-angle or fisheye lens captures wide scenes with great detail. Don’t forget these extras:
- Remote shutter release: Minimizes camera shake
- Spirit level: Ensures your camera is perfectly level
- Extra batteries: Panoramic shoots can drain power quickly
With this gear, you’re set to capture amazing vertical panoramas. Remember, practice is key. Try out your gear to find what works best for you and your subjects.
Preparing Your Camera Settings for Optimal Results
Getting your camera settings right is key for amazing vertical panoramas. Let’s look at the main adjustments you should make for top results.
Choosing the Right Aperture and Focus
Put your camera on manual mode and pick an aperture between f/8 and f/11. This range gives a good mix of depth and sharpness. Use manual focus and set it to the hyperfocal distance for the best depth of field.
Setting Exposure and White Balance
For exposure, use your camera’s histogram to avoid clipped highlights. Keep white balance the same across all shots for consistent colors. Shooting in RAW format gives you more options in editing later.
Configuring Bracketing for HDR Panoramas
For HDR panoramas, set bracketing for 3-5 shots at 1-2 stop intervals. This method captures a broad range of light and shadow details.
| Setting | Recommended Value | Purpose |
|---|---|---|
| Mode | Manual | Full control over settings |
| Aperture | f/8 – f/11 | Balance depth of field and sharpness |
| Focus | Manual, Hyperfocal Distance | Maximize depth of field |
| White Balance | Consistent Manual Setting | Maintain color uniformity |
| File Format | RAW | Maximize post-processing flexibility |
| Bracketing | 3-5 shots, 1-2 stop intervals | Capture wide dynamic range |
By adjusting these camera settings carefully, you’ll be ready to capture great vertical panoramas. Remember to practice and try different settings to see what works best for your shots.
Techniques for Shooting Vertical Panorama Sequences
To get great vertical panoramas, you need to know a few key techniques. You must focus on overlap, aligning the nodal point, and leveling. Let’s look at the steps to take amazing panorama sequences.
First, set up your camera for the right overlap. Try for 25-30% overlap between shots for smooth stitching. Start at the bottom of your scene and move up, keeping a straight line. This method makes the final image look cohesive.
It’s important to use a panoramic head for rotating around the nodal point. This reduces parallax errors and boosts image quality. Keep your camera level during the sequence to avoid distortion. A bubble level or electronic level in your camera is very helpful for this.
When the lighting is tough, think about bracketing exposures for each shot. This method lets you make HDR panoramas with details in bright and dark areas. Shoot fast to catch the lighting right and avoid problems with moving objects.
| Technique | Purpose | Benefit |
|---|---|---|
| 25-30% overlap | Seamless stitching | Smooth final image |
| Nodal point rotation | Minimize parallax | Improved alignment |
| Leveling | Prevent distortion | Professional results |
| Bracketing | Capture full dynamic range | Enhanced detail |
Using these techniques will prepare you to take top-notch vertical panorama sequences. Practice and try new things to get better at it. Soon, you’ll be taking stunning panoramic shots.
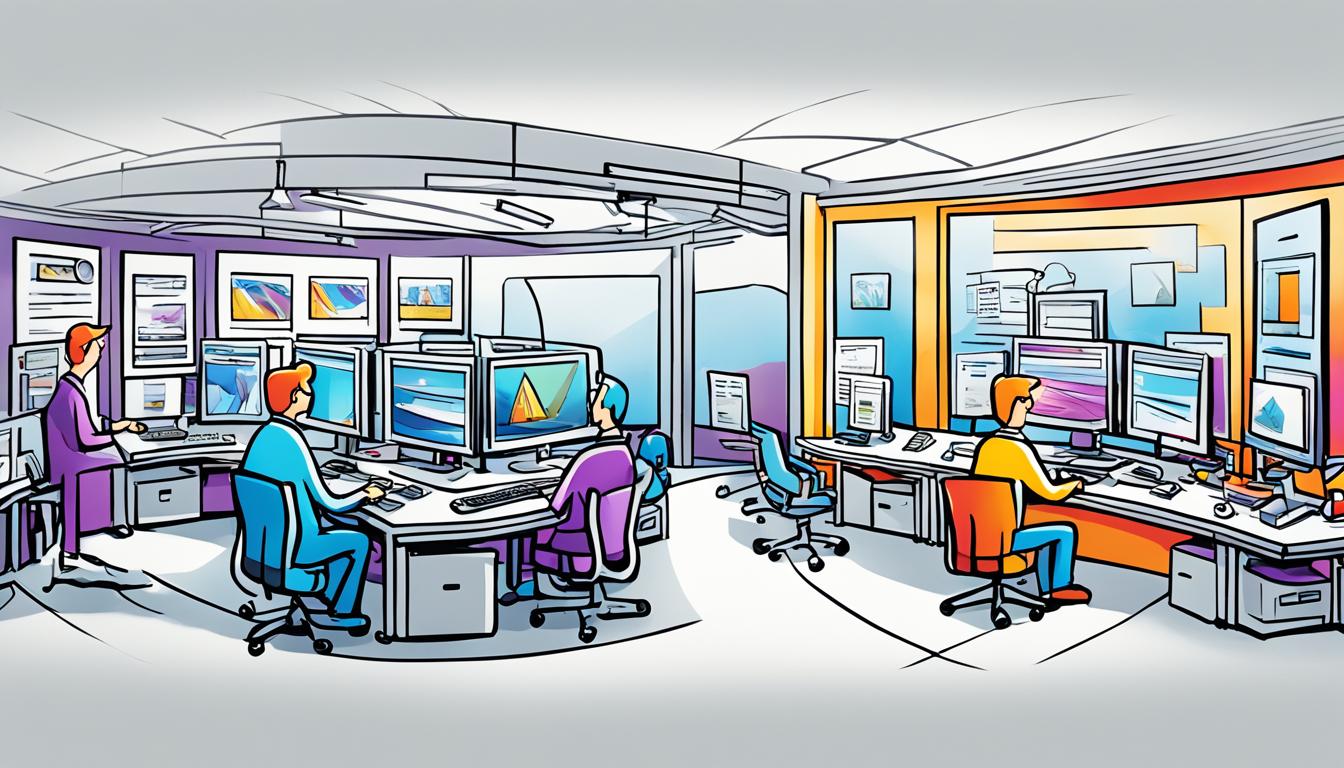
Importing and Organizing RAW Files in Adobe Lightroom
Adobe Lightroom has great tools for organizing your vertical panorama projects. By setting up a good system, you’ll make your workflow smoother and keep your RAW files easy to find.
Creating an Efficient File Structure
Begin by making a consistent file structure for your panorama projects. Put each project in a main folder, with subfolders for different places or dates. This way, finding specific images is easy.
Applying Metadata and Keywords
Add metadata to your RAW files to improve organization. Include copyright info, location, and camera settings. Use keywords to tag panorama sequences, making them easy to search. This makes managing your files better and helps you find images fast.
Using Collections for Panorama Projects
Lightroom’s collections are great for organizing panorama projects. Make a collection for each panorama, putting related images together. This lets you work on many projects at once without getting confused.
| Organization Method | Benefits |
|---|---|
| Consistent File Structure | Easy navigation and file location |
| Metadata Application | Improved searchability and information retention |
| Keyword Tagging | Quick identification of panorama sequences |
| Collections | Efficient grouping of related images |
Using these strategies in Adobe Lightroom creates a strong system for managing your RAW files and panorama projects. This approach saves time, cuts down on frustration, and lets you focus on making beautiful vertical panoramas.
Initial RAW Processing and Adjustments
RAW processing is key to making stunning vertical panoramas. Begin by setting the white balance the same for all images. This keeps the colors consistent in your final panorama.
Then, adjust the exposure of each photo. Keep the brightness levels the same across all frames. Small changes can greatly improve your panorama’s quality.

Don’t forget about lens corrections. These fix distortion and vignetting. They make your panorama look natural and smooth when stitched together.
Next, make global changes to contrast, highlights, shadows, and clarity. These adjustments improve your images’ look without causing problems later. Avoid making local changes now to keep the stitching easy.
| Adjustment | Purpose | Importance |
|---|---|---|
| White Balance | Consistent color temperature | High |
| Exposure | Even brightness across frames | High |
| Lens Corrections | Remove distortion and vignetting | Medium |
| Global Adjustments | Enhance overall appearance | Medium |
After adjusting one image, apply these settings to all others in your sequence. This keeps everything consistent and saves time. Then, export your images as 16-bit TIFF files. This keeps the quality high for stitching.
Implement RAW Workflow for High-Quality Vertical Panorama Processing
Creating stunning vertical panoramas needs a solid RAW workflow. This method ensures top image quality and lets you control every detail. Let’s go through the steps for amazing results.
Step-by-step guide to RAW workflow
Begin by bringing your RAW files into Adobe Lightroom. Put them into collections for easy finding. Then, do initial RAW processing, tweaking white balance, exposure, and lens corrections. Finally, export these files for stitching in PTGui software.
Optimizing image quality throughout the process
Keep your images sharp by working in 16-bit color depth and a wide color space like ProPhoto RGB. This keeps details and colors sharp. Add sharpening and noise reduction carefully, as these can get stronger during stitching.
Handling exposure blending for HDR panoramas
For HDR panoramas, use Lightroom’s HDR merge feature first. This blends bracketed shots for a wider dynamic range. In PTGui, line up images well and set the best stitch settings. Then, bring the panorama back into Lightroom or Photoshop for final touches and blending.
| Workflow Stage | Software | Key Actions |
|---|---|---|
| Import and Organization | Lightroom | Create collections, apply metadata |
| RAW Processing | Lightroom | Adjust exposure, white balance, lens corrections |
| HDR Merging | Lightroom | Combine bracketed exposures |
| Panorama Stitching | PTGui | Align images, optimize projections |
| Final Adjustments | Lightroom/Photoshop | Color grading, selective edits, sharpening |
Advanced Stitching Techniques Using PTGui Software
PTGui is a powerful tool for making stunning vertical panoramas. It has advanced features to solve common stitching problems. Let’s see how to use PTGui for smooth image alignment, parallax correction, and removing ghosting.
Aligning Images for Seamless Stitching
Begin by using PTGui’s automatic alignment feature. This tool looks at your images and finds matching points. For the best results, take your vertical panorama with at least 30% overlap between shots. If the automatic alignment isn’t perfect, add control points manually to fine-tune it.
Dealing with Parallax and Ghosting Issues
Parallax correction is key for vertical panoramas, especially when objects are at different distances from the camera. Use PTGui’s optimization settings to reduce parallax errors. For tough areas, make masks to exclude them from the stitching process.
Ghosting happens when moving objects or changing light conditions create duplicate images in your panorama. PTGui’s de-ghosting feature can help. It looks at multiple frames and picks the best parts of each for a clean final image.
Fine-tuning Panorama Projections
Try different panorama projections to find the best one for your scene. Cylindrical projections are good for tall buildings, while spherical projections are great for capturing both ground and sky. Use PTGui’s preview window to see different options and adjust the crop and orientation for the perfect look.

Mastering these advanced stitching techniques in PTGui lets you create high-quality vertical panoramas. Practice and experiment with different settings to get the best results for each panorama project.
Post-Processing and Enhancing Your Vertical Panorama
After stitching your vertical panorama, it’s time to make it shine. This step turns your raw image into something breathtaking. Let’s explore the key techniques to enhance your panorama.
Start by bringing your panorama into editing software like Adobe Lightroom or Photoshop. Adjust the overall look by tweaking contrast, saturation, and color balance. This makes your image balanced and visually appealing.
Then, focus on specific areas of your panorama. Use tools like the graduated filter or adjustment brush to highlight certain parts. This is key for a cohesive look across your image.
Color Correction and Sharpening
Color correction is crucial for a natural look. Adjust white balance and color channels for accurate colors. After fixing colors, sharpen details to enhance them. But be careful not to sharpen too much, as it can add unwanted artifacts.
Noise Reduction Techniques
Noise reduction is key, especially in low light or high ISO areas. Apply it carefully to keep the image quality high. A bit of noise is often better than a too-smooth image.
For panoramas with big exposure differences, try advanced techniques like luminosity masks or exposure blending. These methods balance the exposure, making your panorama more natural and impactful.
By using these post-processing techniques, you’ll turn your raw panorama into a stunning final image. This image will truly capture the essence of the scene.
Exporting and Sharing Your High-Quality Vertical Panorama
After perfecting your vertical panorama, it’s time to show it off. Choosing the right file formats and optimizing your image for different platforms is key.
Choosing the Right File Format for Various Uses
For keeping your panorama safe long-term, save it as a high-quality TIFF file. This format keeps all the details you carefully captured. When you want to share online, JPEG is a top choice. It balances quality with file size, perfect for web viewing.
Optimizing File Size Without Compromising Quality
It’s important to optimize your images for online sharing. Tools like JPEGmini can make your files smaller without losing quality. This means your panoramas will load fast on websites and social media, making the experience better for viewers.
Platforms and Tools for Showcasing Panoramas
There are many online places to share panoramas. 360Cities and Kuula offer great ways to view your vertical panoramas. Facebook’s 360 photo feature is also popular, letting you share with many people. For printing, make sure your file is high resolution and in CMYK color space for professional quality.


