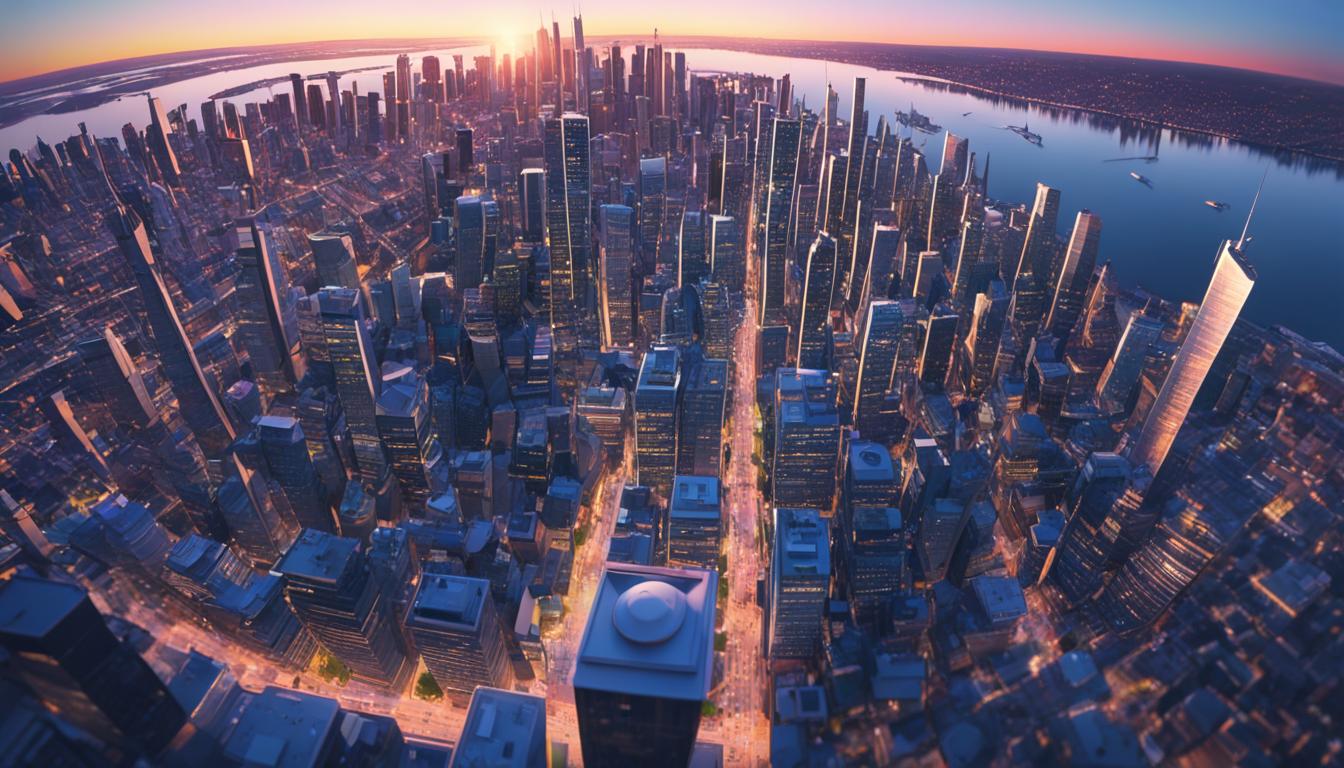
Mastering orbital movements can make your drone shots look amazing. This technique turns your drone photos into moving pictures that grab attention. By flying in circles, you turn 2D images into deep, immersive scenes that feel like satellite views close to the ground.
This method is inspired by Low Earth Orbit ideas. It adds a new level to your drone work. You’ll capture both wide views from high up and close details, creating a unique and captivating effect. Learning these camera techniques lets you make stunning hyperlapse videos that take your drone photos to the next level.
Understanding Orbital Drone-lapses
Orbital drone-lapses are a fascinating way to take pictures from above. They mix automatic and manual flying to give you special views. This method is like how satellites move in Low Earth Orbit, making the footage look amazing.
Defining Orbital Drone Movements
Orbit camera movements mean flying drones in circles around things. This makes the shots look cool and adds depth. By flying around places, you get to show them from all sides in your hyperlapse videos.
Converting 2D Images into Dynamic Focal Layers
Orbital drone-lapses turn flat pictures into something that feels real. As the drone goes around a subject, it takes many photos. These photos, when put together, make the scene look like it’s moving and deep.
High Altitude and Low-to-Ground Orbits
Changing the height of your drone makes your hyperlapse videos more interesting. High up, you see big views of the land. Down low, you get close shots of things. This way, you can make your drone shots exciting and different.
| Orbit Type | Altitude Range | Best For |
|---|---|---|
| High Altitude | 100-400 feet | Panoramic views, cityscapes |
| Mid Altitude | 50-100 feet | Architectural details, parks |
| Low-to-Ground | 10-50 feet | Close-ups, natural features |
Essential Equipment for Orbital Hyperlapse Drone Photography
To capture stunning drone footage, you need the right gear. Let’s look at the key equipment for orbital hyperlapse shots.
A capable drone is at the core of your setup. The DJI Mavic 2 Pro and newer models have built-in hyperlapse features. They take photos over time at a slow speed, then combine them into a beautiful video.
Look for these features in your drone:
- Obstacle avoidance sensors
- Long battery life
- Stable flight performance
- High-quality camera
Your drone’s camera is key for great shots. Choose one that captures RAW images and lets you control settings like aperture and shutter speed. This lets you adjust to different lighting and get the look you want.
Don’t overlook accessories. ND filters help with bright scenes, and extra batteries let you shoot longer without stopping. A good controller with a clear display is vital for precise flying and framing.
With the right gear, you’re set to improve your aerial photography. You can create amazing orbital hyperlapse videos that show off your drone skills.
Planning Your Orbital Hyperlapse Shot
To get amazing hyperlapse drone shots, planning is key. Let’s look at what you need to think about for your next aerial timelapse.
Choosing the Perfect Location
Pick a spot where your drone can move easily. Think about busy highways, active waterways, or city skylines for great shots. Places like shipping ports and industrial areas are also good because they’re always busy.
Identifying Subjects with Ample Motion
Search for things that move a lot. Traffic, clouds, or people in busy areas make your hyperlapse interesting. The goal is to find scenes that keep moving while you film.
Considering Weather and Time of Day
Weather and light are very important for your hyperlapse. Clear skies are usually best, but clouds can make your shots look deeper. The golden hour gives a warm glow, while blue hour adds a special feel to cities.
| Time of Day | Lighting Characteristics | Best Subjects |
|---|---|---|
| Golden Hour | Warm, soft light | Landscapes, architecture |
| Blue Hour | Cool, diffused light | Cityscapes, water reflections |
| Midday | Harsh, direct light | Urban scenes, shadows |
Think about these things to get ready for amazing orbital hyperlapse drone shots. They’ll make people watch in awe and show off your location in a cool way.
Setting Up Your Drone for Hyperlapse Capture
Getting your drone ready for hyperlapse is key in aerial filming. It’s important for great shots in your drone photos. Here are the main steps to set up your drone for amazing hyperlapse shots.
Configuring Camera Settings
Make sure your drone’s camera is set right for hyperlapse. Choose 4K resolution for top-notch quality. Adjust the shutter speed and ISO to fit the light. Use a neutral density filter to manage the light in bright scenes.
Adjusting Flight Parameters
Refine your drone’s flight settings for smooth motion. Keep the flight speed slow and steady. This helps with smooth shots between frames. Change the altitude to get the shot you want. Lower altitudes are good for close-up shots, while higher altitudes capture wide scenes.
Ensuring RAW Image Capture
Turn on RAW image capture for more flexibility in editing. RAW files have more data, making it easier to adjust colors and exposure. This is very useful in aerial filming where lighting can change a lot.
| Setting | Recommended Value | Purpose |
|---|---|---|
| Resolution | 4K | High-quality preview |
| Image Format | RAW | Enhanced post-processing |
| Shooting Interval | 2-5 seconds | Smooth hyperlapse motion |
| Flight Speed | 1-3 mph | Consistent movement |
By setting these up right, you’re ready to take amazing hyperlapse footage. Adjust these settings for your drone model and the scene you’re filming for the best results in your aerial projects.
Execute Orbital Movements for Breathtaking Hyperlapse Drone Shots
Mastering orbital movements is key to stunning hyperlapse drone shots. Your drone’s app has four flight modes for these amazing shots. Each mode adds a special touch to your time-lapse videos, giving you unique aerial views.
Free mode lets you control your drone’s path for spontaneous shots. Circle mode automates orbits around a point, perfect for landmarks or nature. Course Lock keeps your drone steady for smooth shots. Waypoints let you plan complex paths for detailed sequences.
To begin, pick your hyperlapse flight mode in the app. Set your camera for the best exposure and frame rate. Start with simple orbits and then try more complex ones. Remember, smooth motion is key for professional-looking videos.
Practice is important for orbital hyperlapse shots. Begin with short flights to learn the basics before going for longer shots. As you get better, mix different modes for unique and amazing time-lapse videos. These will leave your audience amazed.
Mastering Different Hyperlapse Flight Modes
Hyperlapse videos and orbit camera movements bring new views to drone photography. Learning different flight modes helps you take amazing aerial shots. Let’s look at four key modes to improve your hyperlapse skills.
Free Mode
Free mode lets you control your drone by hand. It’s great for catching quick moments or tracking moving subjects. You’ll need to keep your drone steady and practice to get smooth hyperlapse videos.
Circle Mode
Circle mode makes your drone move in circles around a spot. It’s perfect for stunning hyperlapses of scenes or buildings. Just pick a spot, set the circle size and speed, and your drone will take a beautiful orbit.

Course Lock
Course Lock keeps your drone flying straight while you move. It’s great for steady, straight hyperlapses. Use it when you’re following a subject, ensuring your footage is smooth and consistent.
Waypoints
Waypoint mode lets you plan complex hyperlapses. Set points on your path, change heights and angles at each one. This mode is for dynamic shots that mix different movements and views into one video.
Mastering these flight modes opens up more creative options for hyperlapse videos. Try each mode to see which fits your subject and style best. Remember, the more you practice, the better you’ll get at smooth camera movements and making great aerial timelapses.
Post-Processing Techniques for Stunning Hyperlapse Results
After you’ve taken your drone shots, it’s time to make them look amazing. Post-processing is crucial for stunning hyperlapse results. Let’s explore the techniques to make your aerial footage stand out.
Begin by bringing your RAW images into editing software. Adjust things like exposure, contrast, and color balance to make them look better. Make sure all your frames look the same for smooth transitions in the video.
Then, turn your edited photos into a video. Use special software to join the images together smoothly. Try different frame rates to get the right speed and smoothness for your hyperlapse.
Next, work on stabilizing your footage. This is key to remove any shaking or bumps, making your video silky smooth. Adding subtle zoom or pan effects can also make your drone movements more dynamic.
Color Grading for Cinematic Appeal
Color grading is important for a professional look. Use LUTs (Look-Up Tables) or create your own color profiles to make your hyperlapse stand out. This can change the mood and feel of your drone shots dramatically.
| Post-Processing Step | Purpose | Impact on Final Result |
|---|---|---|
| RAW Image Editing | Enhance individual frame quality | Improved overall visual clarity |
| Video Compilation | Create fluid motion from still images | Smooth, seamless hyperlapse effect |
| Stabilization | Eliminate camera shake and jitters | Professional-looking, steady footage |
| Color Grading | Establish mood and visual style | Cinematic appeal and cohesive look |
Remember, making stunning hyperlapse results takes patience and detail in post-processing. Take your time to improve each step. With careful work, you’ll create breathtaking drone footage that will amaze your viewers.
Overcoming Common Challenges in Orbital Hyperlapse Creation
Creating amazing hyperlapse drone shots takes skill and smooth orbital movements. You’ll face challenges that can affect your footage quality. Let’s look at common issues and how to beat them.
Dealing with Wind and Stability Issues
Wind can make it hard to get great orbital hyperlapse shots. Pick calm days for your shoot and use your drone’s stabilization. Flying in different conditions will help you control your drone better and keep it steady in light winds.

Managing Battery Life for Extended Shoots
Long hyperlapse shots need drones to fly for a long time. Bring extra batteries and plan your shoot well. Break your shots into parts so you can swap batteries. This way, you can finish your footage without running out of power.
Ensuring Smooth Transitions Between Frames
Smooth transitions make a hyperlapse look professional. Keep your drone flying at the same speed and moving the camera smoothly. After you’re done filming, use software to fix any small issues and make the transitions smooth.
| Challenge | Solution |
|---|---|
| Wind interference | Use stabilization features, shoot on calm days |
| Limited battery life | Carry spare batteries, segment your shoot |
| Uneven transitions | Maintain consistent speed, use post-processing tools |
By tackling these challenges, you’ll be ready to make amazing orbital hyperlapse drone shots. These shots will wow your audience and show off your piloting skills.
Conclusion
Learning to take orbital hyperlapse drone shots opens up new creative doors in aerial filming. It blends drone photography with time-lapse videography for amazing visuals. This approach can tell powerful stories that grab your audience’s attention.
Success comes from planning and doing well. Pick your subjects carefully, thinking about how they’ll change over time. Make sure your drone flies smoothly by adjusting its settings. Try different flight modes to make your shots more interesting.
Editing is where your footage shines. Spend time making your sequences smooth and seamless. With practice, you’ll learn to create dynamic shots that pull viewers into the scene.
Keep improving your skills in aerial filming and explore new ways to shoot. Try flying high and low to add variety. See challenges like wind and battery life as chances to be creative. Your hard work will lead to stunning hyperlapse drone shots that impress everyone.


