You can make drone light paintings better with advanced post-processing techniques. These methods turn your drone photos into stunning art. By using long exposure imaging and creative editing, your nighttime drone shots will look amazing.
Drone light painting combines aerial photography and long exposure imaging. It lets you create beautiful light trails and patterns in the night sky. With the right editing techniques, you can make your footage stand out.
This guide will cover the key equipment, camera settings, and editing methods for drone light paintings. You’ll learn how to capture the perfect shot and add cool effects. By the end, you’ll know how to improve your drone photography skills.
Understanding Drone Light Painting Basics
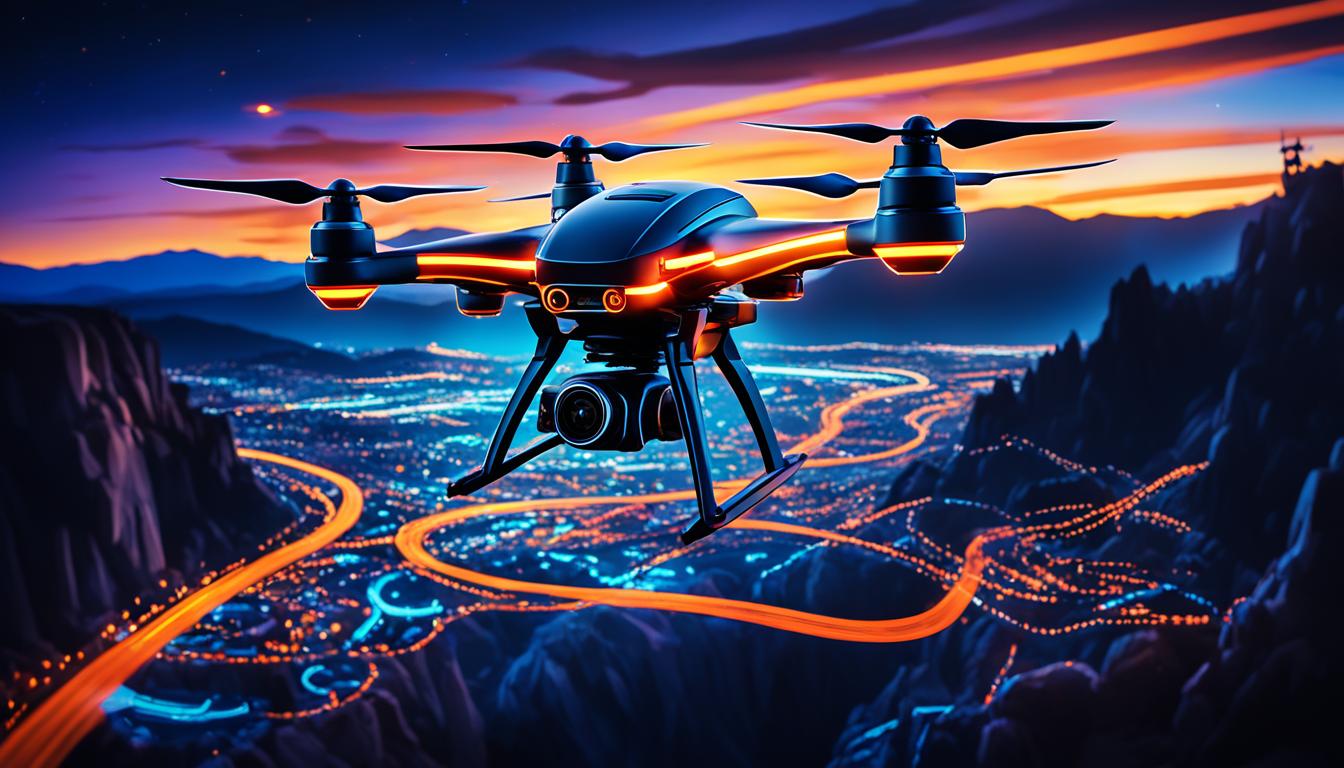
Drone light painting is a unique way to capture the night sky. It combines technology with art. By using drones with LED lights, you can make beautiful light trails in the sky.
What is drone light painting?
It’s about flying a drone with LED lights in patterns while taking long photos. The drone’s path looks like bright streaks of light against the dark sky. This creates stunning images.
Essential equipment for drone light painting
To begin, you’ll need:
- A drone that can follow paths
- Bright LED lights for the drone
- A camera that takes long photos
- A strong tripod
- A remote to take photos
Preparing your drone for light painting
Get your drone ready for night flying by:
- Attach LED lights to your drone
- Plan your flight path
- Follow night flying rules
- Set your camera for long shots
- Pick a place with little light pollution
| Camera Setting | Recommended Range | Purpose |
|---|---|---|
| ISO | 100-400 | Reduce noise in dark conditions |
| Aperture | f/8 – f/11 | Ensure sharp focus throughout the frame |
| Shutter Speed | 10-30 seconds | Capture full light trails |
Now you know the basics, you’re set to start your drone light painting journey. You’ll create amazing night photos that blend art and technology.
Capturing Raw Footage for Light Painting
Mastering drone light painting begins with high-quality raw footage. This means using camera RAW processing and setting up your drone camera right for stunning light trails. Let’s explore the key steps in this art form.
Setting up your drone camera for optimal results
For the best shots, put your drone camera in manual mode. This lets you control everything. Keep the ISO low, between 100-400, to avoid noise. Make sure your drone captures in RAW format for camera RAW processing. This keeps more image data, making editing easier later.
Techniques for creating light trails
Light trails are the essence of drone light painting. Use a slow shutter speed, 2-30 seconds, for these effects. Try different flight patterns and LED colors for unique designs. You can make straight lines, circles, or even spell out words. Use your drone’s smart flight modes for steady movements and patterns.
Managing exposure and shutter speed
Getting the right exposure and shutter speed is key for great light paintings. Begin with a shutter speed of 5-10 seconds and adjust as needed. Longer shutter times mean longer light trails but might overexpose the background. Use filters to control light in bright conditions. Remember, practice is key with drone camera settings for light painting.
| Setting | Recommended Range | Effect on Light Painting |
|---|---|---|
| ISO | 100-400 | Lower values reduce noise |
| Shutter Speed | 2-30 seconds | Longer speeds create longer trails |
| Aperture | f/4 – f/8 | Balances exposure and depth of field |
Importing and Organizing Your Drone Light Painting Footage
After capturing stunning drone light paintings, it’s time to bring your footage into the digital realm. Importing and organizing your files is a key step in the post-processing workflow. Let’s explore the best practices for managing your creative assets.
Begin by importing your RAW files into photo editing software. Adobe Lightroom and Capture One are popular choices. They offer powerful tools for managing files and organizing RAW files, making editing easier.
Set up a consistent naming convention for your files. This makes finding specific shots easier. Include the date, location, and project name in your file names. For example: “20230615_CentralPark_LightTrails_001.RAW”
- Group files by date or project
- Use descriptive keywords in folder names
- Create separate folders for RAW files and edited images
Have a solid backup strategy to protect your work. Keep copies of your RAW files on external hard drives or cloud storage services. This protects your drone light painting footage from data loss and lets you access your files from anywhere.
| Storage Type | Pros | Cons |
|---|---|---|
| External Hard Drive | Fast access, large capacity | Physical damage risk |
| Cloud Storage | Remote access, automatic sync | Requires internet connection |
| NAS (Network Attached Storage) | Centralized storage, file sharing | Initial setup complexity |
By following these file management tips, you’ll have an efficient workflow for your drone light painting projects. This organization makes editing smooth and ensures your creative vision is clear in the final images.
Basic Adjustments in Post-Processing Software
After taking your drone light paintings, it’s time to make them shine with post-processing software. Let’s look at key adjustments to boost your aerial art.
Adjusting Exposure and Contrast
First, tweak the exposure. Brighten dark spots or reduce bright ones to show more details. Enhancing contrast makes light trails stand out more. Try adjusting shadow and highlight sliders for a better balance.

Fine-tuning White Balance
Getting the color temperature right is key for realistic light paintings. Adjust the white balance to remove color casts. Cool tones are great for night scenes, while warm tones can give your images a sunset look.
Applying Lens Corrections
Drone cameras can have distortion and color issues. Use lens correction tools to fix these. Remove distortion for straight lines and get rid of color fringing on edges.
| Adjustment | Purpose | Effect on Light Painting |
|---|---|---|
| Exposure | Balance overall brightness | Reveals hidden details in shadows and highlights |
| Contrast | Increase difference between light and dark areas | Makes light trails stand out against the background |
| White Balance | Correct color temperature | Ensures accurate colors in light trails and environment |
| Lens Corrections | Remove distortion and aberrations | Improves overall image quality and sharpness |
Mastering these basic adjustments will help you create amazing drone light paintings. Always save your work and try different settings to find your style.
Enhance Drone Light Paintings with Advanced Post-Processing Techniques
Take your drone light paintings to the next level with advanced post-processing techniques. These methods will help you create stunning, unique images that truly stand out.
Using Layer Blending Modes
Layer blending is a powerful tool for enhancing your drone light paintings. Experiment with different modes like Overlay, Soft Light, or Screen to create depth and texture. Try stacking multiple layers with varying opacities to achieve complex, ethereal effects.
Applying Selective Color Adjustments
Selective color editing allows you to fine-tune specific hues in your image. Use this technique to emphasize certain light trails or alter the mood of your composition. Adjust saturation, brightness, and hue for individual color ranges to create striking contrasts or harmonious color schemes.
Creating Composite Images
Image compositing takes your drone light paintings to new heights. Combine multiple exposures to extend light trails or add elements from other photos to enhance the final result. This technique lets you create surreal scenes that push the boundaries of traditional photography.
- Blend exposures with different light paths
- Add elements like stars or cityscapes
- Create impossible scenes by manipulating perspective
By mastering these advanced post-processing techniques, you’ll transform your drone light paintings into captivating works of art. Experiment with layer blending, selective color editing, and image compositing to develop your unique style and create images that truly wow your audience.
Noise Reduction and Sharpening Techniques
Night aerial photography often has noise issues. To fix this, use specialized software for noise reduction. Topaz DeNoise AI and DxO DeepPRIME are great for cleaning up drone light paintings.

Begin by reducing noise in your raw footage. Focus on making grainy areas smooth without losing important details. Adjust the effect to balance noise removal with image quality.
Next, sharpen your images. This makes the edges of your light trails and key elements crisp. Use selective sharpening tools to focus on specific areas. Avoid over-sharpening to prevent noise from coming back.
For more detail, try masking techniques. Create a mask to isolate the light trails and important parts. Sharpen and adjust contrast only on these areas. This keeps darker regions smooth.
| Technique | Purpose | Recommended Software |
|---|---|---|
| Noise Reduction | Remove graininess | Topaz DeNoise AI, DxO DeepPRIME |
| Image Sharpening | Enhance edges and details | Adobe Lightroom, Capture One |
| Detail Enhancement | Improve texture and clarity | Nik Collection, ON1 Photo RAW |
Remember, post-processing should be subtle. Aim for a natural look that enhances your drone light paintings without overdoing it. Try different settings to find what works best for your style.
Adding Creative Effects to Your Light Paintings
Take your drone light paintings to the next level with creative effects. These techniques will turn simple light trails into stunning art. Learn how to add glow effects, create abstract patterns, and use textures for amazing results.
Applying Glow Effects
Glow effects make your light paintings magical. Use editing tools like blur or gaussian blur to soften the light trails. Adjust the opacity for a subtle glow. Try different blending modes like Screen or Overlay to boost the light trails’ luminosity.
Creating Abstract Patterns
Turn your light trails into mesmerizing patterns. Duplicate your light trail layers and apply transformations like rotate, scale, or flip. Blend these layers with different modes for unique overlaps. Adjust opacity levels for depth and complexity in your abstract art.
Incorporating Textures and Overlays
Add depth and atmosphere with texture overlays. Choose textures that match your image, like grunge, fabric, or natural elements. Use modes like Soft Light or Overlay to blend these textures. Adjust opacity to balance the texture with your light painting.
| Effect | Tool | Purpose |
|---|---|---|
| Glow | Gaussian Blur | Soften light trails |
| Abstract Patterns | Transform Tools | Create unique compositions |
| Texture Overlays | Blending Modes | Add depth and atmosphere |
Master these creative effects to take your drone light paintings to new heights. Experiment with glow effects, abstract patterns, and texture overlays. This will help you develop your unique style and create captivating images.
Color Grading Your Drone Light Paintings
Color grading can elevate your drone light paintings. By using color theory, you can boost the mood and feel of your images. Start with tools like Adobe Lightroom’s Color Grading panel or Photoshop’s Color Balance adjustment layers.
Try using complementary colors for striking images. For instance, warm oranges with cool blues can make your light trails stand out. This method can bring out certain emotions or themes in your work. Adjust the highlights, midtones, and shadows for more control over colors.
Color grading is all about setting the mood. Warm tones can make your images feel cozy and inviting. Cool tones might hint at mystery or calm. Don’t hesitate to experiment with unusual color mixes for amazing effects. Keep practicing and improving your color grading skills to make your drone light paintings stand out.


