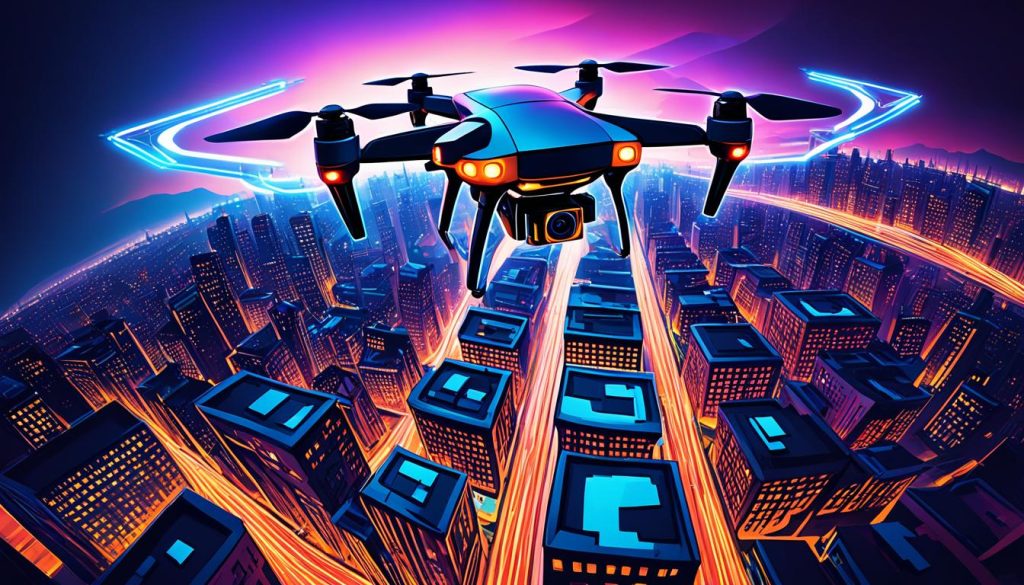
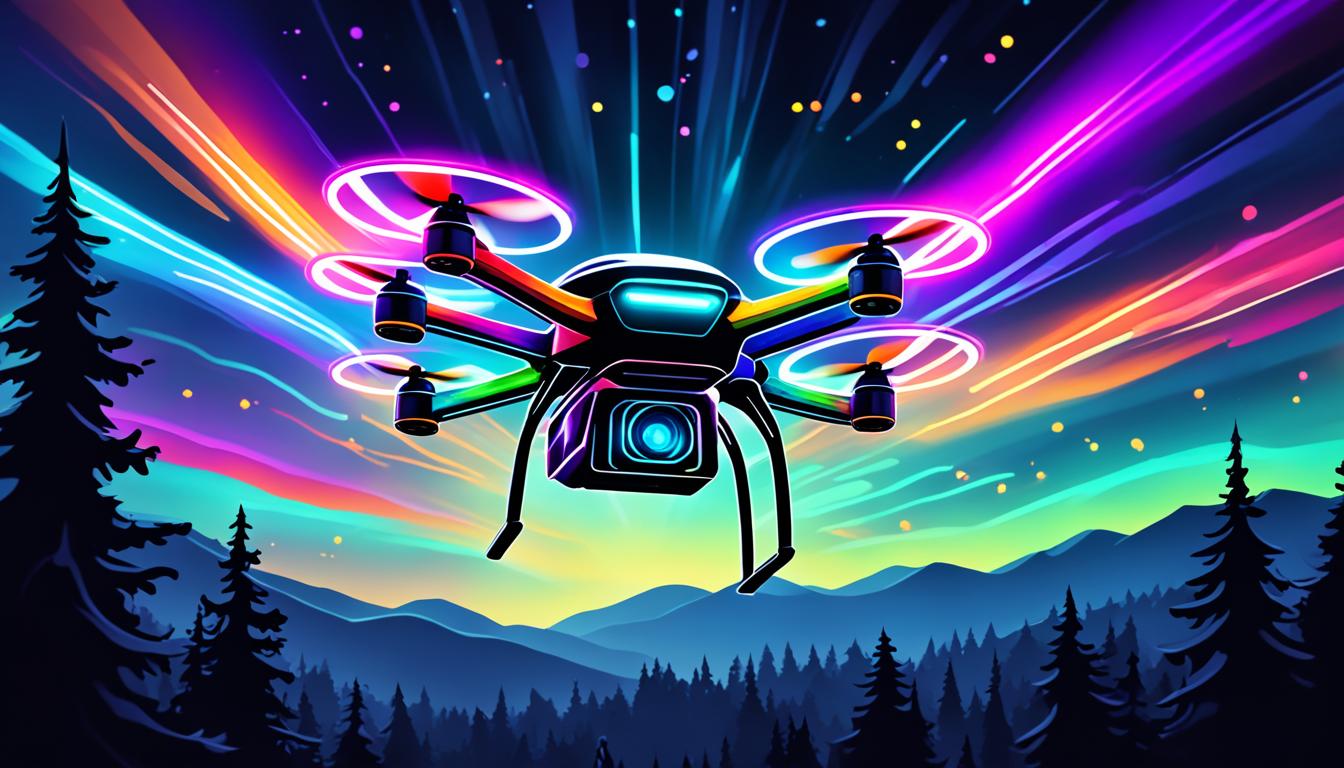
You can make amazing animated light paintings by using drones, time-lapse, and light painting together. This method lets you take beautiful pictures from above over time. It also adds cool light patterns in the night sky.
To do this, you need a drone with a good camera, settings for long exposure, and a plan for your flight. With these things, you can make eye-catching images that mix drone shots with light trails.
Getting this effect takes a lot of planning, controlling the drone well, and editing photos. As you learn this special kind of photography, you’ll see how to make animations. These animations show the beauty of light moving from above.
Understanding the Basics of Drone Time-Lapse Photography
Drone time-lapse photography combines aerial views with time-lapse techniques for amazing visuals. You’ll need the right gear, camera settings, and flight plan. Let’s explore what you must know to excel in this art.
Essential Equipment for Drone Time-Lapse
To get great drone time-lapses, pick a reliable quadcopter with a top-notch camera and gimbal. Choose drones with flight controls you can program and long battery life. A remote with a screen or smartphone link is key for setting up your shots.
Key Camera Settings for Optimal Results
For top-notch time-lapses, get your camera settings right. Use manual exposure mode for even lighting. Capture images in RAW for better detail and editing options. Set your interval shooting based on how fast your subject moves.
| Setting | Recommendation | Purpose |
|---|---|---|
| Exposure Mode | Manual | Maintain consistent lighting |
| Image Format | RAW | Preserve detail for editing |
| Interval | 2-5 seconds | Capture smooth motion |
Planning Your Flight Path and Timing
Good drone time-lapses need careful planning. Check out locations before flying, looking for obstacles and the best spots. Think about the sun’s position for great lighting. Use apps to plan your drone’s path for smooth shots. Don’t forget to check the weather and local rules for your shoot.
Mastering Light Painting Techniques for Aerial Photography
Light painting becomes amazing when mixed with aerial photography. This mix of art and tech lets you make beautiful effects in the night sky. Let’s dive into mastering light painting for your aerial projects.
Choosing the Right Light Sources
It’s key to pick the right lights for aerial light painting. LED strips, high-powered flashlights, and special light painting tools work well. Think about brightness, color, and battery life when choosing your lights.
| Light Source | Pros | Cons |
|---|---|---|
| LED Strips | Flexible, customizable colors | Require separate power source |
| Flashlights | Portable, focused beam | Limited color options |
| Light Painting Tools | Designed for light painting | Can be expensive |
Designing Captivating Light Patterns
Creating stunning light patterns takes creativity and practice. Try out different shapes, colors, and moves to find your style. Begin with simple shapes and then try more complex ones as you get better.
Coordinating Light Movements with Drone Flight
It’s important to match your light moves with the drone’s flight. Plan your light and drone moves before flying. Practice moving your hands with the drone’s speed and direction for smooth light trails across many photos.
With these skills, you can make amazing aerial light paintings. Always remember to fly safely and follow the rules when flying at night.
Create Animated Light Paintings with Drone Time-Lapse Techniques
Animated light paintings made with drones are a mix of art and tech. They let you capture amazing visuals that amaze people. By using long shots and precise drone moves, you can make beautiful light trails in the night sky.
First, plan your drone’s flight path. Pick a spot with little light pollution and map out your route. Set your camera to manual mode and adjust for long shots. A shutter speed of 2 to 30 seconds is good for light painting.
Then, attach LED lights or other light sources to your drone. As you fly, these lights will make trails in your shots. Try different colors and intensities for various effects. Keep your drone moving smoothly for the best look.
After taking photos, it’s time to edit. Use software like Adobe After Effects or LRTimelapse to make your shots into an animation. This step is key to making your light painting come alive.
| Equipment | Camera Settings | Post-Processing Tools |
|---|---|---|
| Drone with GPS | Manual mode | Adobe After Effects |
| LED lights | Long exposure (2-30s) | LRTimelapse |
| Tripod | Low ISO (100-400) | Adobe Lightroom |
With practice, you’ll get the hang of making animated light paintings with drones. This creative method offers endless ways to express yourself in night photography.
Selecting the Perfect Location for Your Aerial Light Painting
Finding the right spot for aerial light painting is key to a great night photo shoot. Look for places with little light pollution, interesting landscapes, and drone-friendly rules.
Remote spots are usually ideal for stunning light paintings against the stars. Search for open fields, deserts, or coasts far from city lights. These spots have little light pollution, making your light trails stand out against the dark sky.

Urban areas can also be great for aerial photos. City skylines and buildings add depth to your shots. When picking urban spots, look for areas with unique buildings or landmarks that fit your light painting theme.
Factors to Consider When Choosing a Location
- Light pollution levels
- Accessibility and safety
- Local drone regulations
- Weather conditions
- Terrain features
Always put safety and the law first when picking a drone spot for night photography. Make sure to check local rules and get any needed permits before flying. Pick a place with clear spots for taking off and landing, and steer clear of obstacles or restricted areas.
| Location Type | Advantages | Challenges |
|---|---|---|
| Remote areas | Dark skies, minimal interference | Limited accessibility, potential wildlife |
| Urban settings | Interesting architecture, city lights | Higher light pollution, stricter regulations |
| Coastal regions | Reflective water surfaces, open space | Wind, salt spray on equipment |
Post-Processing Techniques for Enhancing Drone Light Paintings
Post-processing is key to turning your drone light painting footage into amazing art. With the right tools and techniques, you can make your time-lapse sequences look stunning. This can create beautiful visual effects.
Software Recommendations for Time-Lapse Editing
For editing time-lapses, use top-notch software like Adobe Lightroom and After Effects. Lightroom is great for processing RAW images, letting you adjust exposure and color balance. After Effects is perfect for putting together and animating your time-lapses. It has tools for smooth transitions and adding cool effects.
Color Grading to Amplify Light Trails
Color grading is vital for making your light trails stand out. Try changing hue, saturation, and luminance to brighten your light paintings. Use the same colors throughout your sequence to create a unified look. This can turn regular footage into something truly special.
Smoothing Drone Movements in Post-Production
To get a smooth final product, fix any jerky drone movements. Use frame blending for smooth transitions between shots. Motion tracking can also stabilize shaky footage, making your light paintings look professional. These techniques will take your drone light paintings to the next level.
| Technique | Purpose | Software |
|---|---|---|
| RAW Processing | Exposure and Color Balance | Adobe Lightroom |
| Time-Lapse Assembly | Sequence Creation | Adobe After Effects |
| Color Grading | Enhance Light Trails | DaVinci Resolve |
| Motion Smoothing | Stabilize Footage | Adobe Premiere Pro |
Overcoming Challenges in Drone Light Painting Photography

Drone light painting photography has its own set of challenges. You’ll deal with flight time limits, wind issues, and keeping control in the dark. Let’s look at these challenges and how to beat them.
Extending Flight Time
One big challenge is the drone’s battery life. Here’s how to stay in the air longer:
- Invest in high-capacity batteries
- Carry multiple charged batteries
- Use power-saving flight modes
Battling Wind Interference
Wind can mess up your light trails. Here’s how to fight it:
- Choose wind-resistant drone models
- Fly on calm evenings
- Use wind forecasting apps to plan your shoots
Mastering Night Flying
Flying at night has its own set of challenges. Improve your skills by:
- Practicing in daylight first
- Using obstacle avoidance systems
- Installing bright LED lights on your drone
Perfecting Long Exposure Techniques
Long exposure is key for light painting. Here’s how to get better:
- Using a remote controller with precise movements
- Experimenting with different shutter speeds
- Employing neutral density filters
| Challenge | Solution |
|---|---|
| Limited flight time | High-capacity batteries, multiple backups |
| Wind interference | Wind-resistant drones, careful planning |
| Low-light conditions | Practice, obstacle avoidance systems, LED lights |
| Long exposure issues | Precise controls, ND filters, shutter speed adjustments |
By tackling these challenges, you’ll improve your drone light painting photography. Remember, practice and persistence are essential. They will help you master these techniques and create amazing aerial light paintings.
Advanced Drone Maneuvers for Complex Light Painting Patterns
Take your drone light painting to the next level with advanced moves. These techniques help you create amazing visual effects. They let you express your art in new ways. Learn to fly in complex paths, make 3D sculptures, and control multiple drones for stunning scenes.
Mastering Circular and Spiral Flight Paths
Learn to fly in circles and spirals for depth in your light paintings. Begin with slow, steady moves and speed up as you feel more confident. Keep your drone at the same height and distance from the center for smooth trails.
Creating 3D Light Sculptures in the Air
Make your light paintings three-dimensional with 3D sculptures. Use up and down and side to side moves to shape complex forms. Try different speeds and LED colors to make your sculptures look more real.
| Shape | Flight Pattern | Light Effect |
|---|---|---|
| Sphere | Circular ascent and descent | Glowing orb |
| Cube | Sharp 90-degree turns | Geometric structure |
| Helix | Spiral ascent | DNA-like strand |
Synchronizing Multiple Drones for Intricate Designs
Explore new heights with synchronized drones. Work together to make big, detailed designs. Start with simple patterns and move to complex ones as you get better.
- Use GPS-enabled drones for precise flying
- Plan each drone’s flight path carefully
- Practice timing and coordination for smooth moves
Master these advanced drone moves to change your light painting game. With practice and creativity, you’ll make stunning 3D sculptures and complex patterns. These will amaze people and take your art to new heights.
Legal Considerations and Safety Precautions for Night Drone Flying
Flying drones at night for light painting photography needs careful planning. You must know the laws and safety steps before flying after dark. It’s key to understand the legal rules and keep safe while taking photos from the air.
To fly your drone at night, get a permit from your local aviation authority. These permits might need extra training and gear. Make sure to check the Federal Aviation Administration (FAA) for the rules in your area.
- Equip your drone with proper lighting, including anti-collision lights visible for at least 3 miles
- Maintain visual line of sight with your drone at all times
- Avoid restricted airspace and no-fly zones
- Keep your drone below 400 feet altitude
- Carry your remote pilot certificate and night flying waiver
Safety is the top priority in aerial photography. Always check your gear and the area before flying. Know about obstacles, weather, and other planes. By following these tips and knowing the drone laws, you can make beautiful light paintings safely.
| Safety Precaution | Importance |
|---|---|
| Proper drone lighting | Ensures visibility to other aircraft |
| Maintain visual line of sight | Prevents collisions and loss of control |
| Avoid restricted airspace | Prevents legal issues and safety hazards |
| Pre-flight equipment check | Reduces risk of technical failures mid-flight |
Keep up with the latest drone laws and always put safety first in your aerial photography. With the right prep and knowledge, you can make stunning light paintings. You’ll follow the law and keep the skies safe for everyone.
Conclusion
Drone time-lapse techniques open up a world of creative possibilities in light painting photography. By mastering these methods, you can make stunning aerial videos that grab viewers’ attention. The mix of precise drone flying, artistic light work, and time-lapse skills lets you create amazing stories in the night sky.
As you dive into this exciting area, always put safety and following the law first. Keep up with local rules for flying drones at night. With time, you’ll get better at making complex light designs and 3D sculptures in the air.
The future of drone light painting looks promising. New technology will bring more tools and methods to help you express yourself creatively. By blending technical skills with artistic ideas, you can make unique, striking images that stand out in aerial photography and videos.


