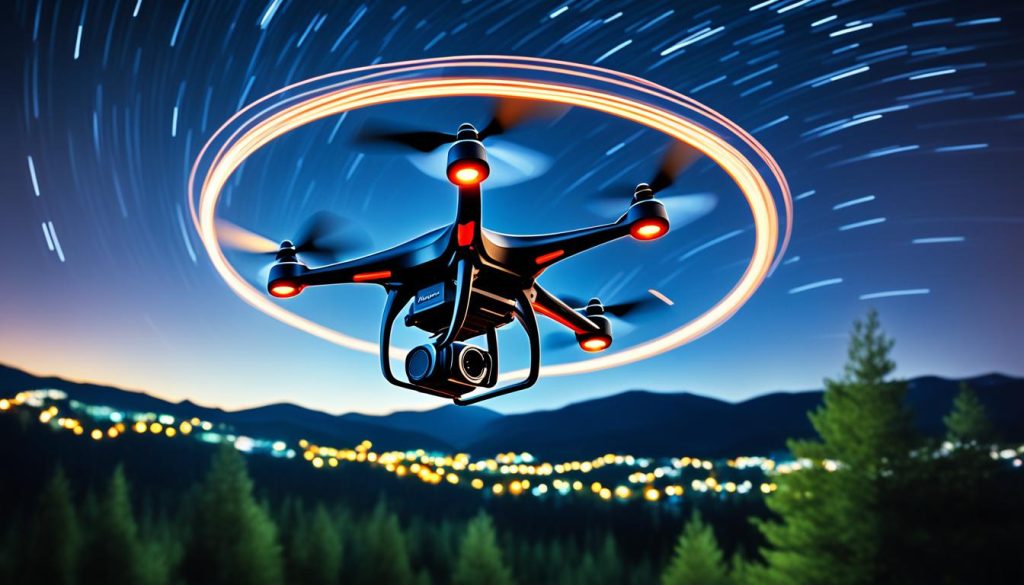
To get perfectly smooth lines in drone light painting, learn advanced stabilization techniques. This method mixes aerial photography with long exposure for stunning night sky light trails.
Drone light painting lets you create amazing nighttime images. By using aerial photography stabilization and long exposure, you can paint with light in the night sky.
For smooth light trails, focus on a few key things. Choose the right gear, set up your drone correctly, and use advanced camera skills. Mastering these will help you make stunning aerial light paintings.
This guide will cover the key steps to improve your drone light painting. You’ll learn the basics and advanced stabilization methods. This way, you can capture those smooth lines that make your night sky light trails stand out.
Understanding Drone Light Painting Basics
Drone light painting mixes aerial photography with long exposure techniques. It uses drones with LED lights to make beautiful patterns in the night sky. By learning drone light painting, you can turn regular night sky photos into amazing works of art.
What is drone light painting?
Drone light painting blends aerial photography’s precision with long exposure photography’s creativity. You fly a drone with LED lights to “paint” designs in the sky. Then, your camera takes these light trails over a long time, making pictures that look magical.
Essential equipment for drone light painting
To start with drone light painting, you’ll need:
- A drone with programmable LED lights
- A camera that can take long exposures
- A sturdy tripod for camera stability
- Remote control for precise drone movements
- Extra batteries for long night shoots
Importance of stability in light painting
Stability is key in drone light painting. If your drone moves during the shot, you’ll get blurry patterns. To get clear, smooth lines in your light trails:
- Use a tripod to keep your camera still
- Choose a drone with advanced stabilization
- Practice smooth, controlled flight patterns
- Consider using a remote shutter release to avoid camera shake
Mastering these basics will help you create stunning drone light paintings. These will amaze viewers and expand the limits of night sky photography.
Choosing the Right Drone for Light Painting
Finding the right drone for light painting is crucial. You need a drone with certain features to capture beautiful light trails. Look for drones with great camera quality, stable flight, and long battery life.
The camera quality of your drone is key for clear light trails. Choose drones with high-resolution sensors and manual settings. These let you adjust for the best long-exposure shots, perfect for light painting.
Flight stability is vital for smooth light trails. DJI drones are known for their great control and stabilization. Pick a drone with GPS flight modes and gimbal stabilization for steady shots during light painting.
| Feature | Importance | Example Drones |
|---|---|---|
| Camera Quality | High | DJI Mavic 3, Autel EVO II Pro |
| Flight Stability | Critical | DJI Phantom 4 Pro V2.0, Yuneec Typhoon H3 |
| Battery Life | Important | DJI Air 2S, Autel EVO Lite+ |
If you want to attach custom LED lights, think about the drone’s payload capacity. Multirotor drones are great for detailed light painting. Also, look for drones with programmable flight paths for precise light painting patterns.
Setting Up Your Drone for Optimal Stability
Getting smooth lines in drone light painting begins with setting up right. Having your drone stable is crucial for amazing aerial light art. Let’s look at how to set your drone up for great results.
Configuring Flight Modes
Flight modes are key for drone stability. Choose modes that focus on slow, controlled flying. Tripod mode is perfect for light painting, as it slows down speed and boosts precision. Flying in shapes like squares and circles will help you get better at controlling your drone.
Balancing Propellers and Motors
It’s vital to balance your propellers for less vibration. Use a tool to check each propeller. If needed, adjust the motor mounts. Doing this makes your drone fly steadier and improves your photos.
Adjusting Gimbal Settings
Adjust your gimbal settings for smooth camera moves. Change the pan and tilt speeds to fit your light painting style. Turn on follow mode for smooth tracking. Try different settings to find what works best for you.
| Component | Adjustment | Impact on Stability |
|---|---|---|
| Flight Modes | Tripod Mode | Enhances precision and control |
| Propellers | Balance Check | Reduces vibrations |
| Gimbal | Speed Adjustment | Improves camera smoothness |
Focus on these key areas to lay a strong foundation for your drone light painting. Remember, practice is key to getting these stabilization techniques right.
Advanced Camera Settings for Light Painting
Mastering advanced camera settings is key for drone light painting. You need to use manual camera mode for full control over your shots.

Begin by setting a low ISO, between 64 and 200. This reduces noise in your shots, making the light trails crisp and clean. Then, adjust the shutter speed. For light painting, try speeds from 1 to 30 seconds, depending on the trail length you want.
Aperture is crucial for capturing light. Choose a wide aperture, like f/2.8 to f/4, to gather more light. This is vital in low-light conditions, which are common in light painting.
- Use manual camera mode for complete control
- Set low ISO (64-200) to minimize noise
- Adjust shutter speed based on desired trail length
- Choose a wide aperture for better light gathering
Remember, perfecting light painting takes practice. Experiment with different exposure settings to get the look you want while keeping image quality high. With time, you’ll find the perfect settings for your vision.
Achieve Smooth Lines in Drone Light Painting with Advanced Stabilization
Smooth lines are crucial for amazing drone light paintings. Advanced stabilization helps you get this right. Let’s dive into how top tech can make your aerial light art flawless.
Understanding Advanced Stabilization Techniques
Drone gimbal stabilizers are vital for smooth camera moves. They keep your camera steady and level, even when it’s windy. Top gimbals use several axes to fight against unwanted motion, giving you clean light trails.
Implementing GPS-Assisted Flight Modes
GPS-assisted flight changes the game for light painting. It lets your drone stay put or follow a set path with amazing precision. With GPS waypoints, you can make complex light patterns that would be hard to do by hand.
Utilizing Anti-Vibration Mounts and Dampeners
Anti-vibration mounts are key for cutting camera shake. They keep your camera separate from the drone’s shakes, giving you sharper images and smoother trails. Add rubber dampeners for even better shots.
| Stabilization Method | Benefits | Best For |
|---|---|---|
| Drone Gimbal Stabilizers | Smooth camera movements, wind resistance | All light painting projects |
| GPS-Assisted Flight | Precise positioning, complex patterns | Intricate designs, repeatability |
| Anti-Vibration Mounts | Reduced camera shake, sharper images | Long exposure shots, detailed work |
By using these advanced stabilization methods, you’ll make stunning light paintings with sharp lines and detailed work. Try out different techniques to find what works best for your art.
Planning Your Light Painting Flight Path

Planning your drone flight path is key to making amazing light painting shots. First, check out your location and spot any obstacles. Think about what’s in the background to make your light trails look good. Jot down your ideas to see how your aerial shots will look.
Use apps for drone flight planning to map out your path exactly. These apps help you move smoothly for beautiful light trails. Try flying your route at a low height first to get the timing right.
For tricky light painting shots, mark spots on the ground with chalk or tape. This helps you fly straight during the shoot. Always check for flying rules in your area with apps like AirMap before flying.
| Flight Path Element | Consideration | Impact on Light Painting |
|---|---|---|
| Altitude | Higher altitudes for broader patterns | Affects scale and perspective of light trails |
| Speed | Consistent speed for uniform lines | Influences thickness and intensity of light trails |
| Direction changes | Smooth transitions between segments | Creates fluid, unbroken light patterns |
| Duration | Match flight time to camera exposure | Ensures complete capture of light painting |
With careful planning, you’ll be ready to capture stunning light painting shots. These shots will show off your creativity and skill.
Mastering Slow Shutter Speeds for Crisp Light Trails
To get amazing light trails with your drone, learn slow shutter speed techniques. This skill lets you make beautiful, sharp light patterns in the night sky. Let’s dive into how to improve your drone light painting skills.
Calculating Optimal Exposure Times
For the perfect light trail, figure out the right exposure time. This depends on how long you want the trail to be and how fast your drone moves. For short, sharp lines, use shutter speeds of 1-2 seconds. For longer trails, try 5-10 seconds or more. Remember, slower drones need longer exposures for continuous trails.
Maintaining Consistent Light Intensity
For professional-looking light trails, keep your drone steady. Don’t change speed or height during the exposure. Sudden moves can make your trails look uneven. Practice flying smoothly to keep the light intensity even in your shot.
Using ND Filters for Extended Exposures
ND filters are key for drone light painting, especially in bright conditions. They let you take longer exposures without overexposing your shot. Start with a 3-stop ND filter and adjust as needed. This way, you can get smooth, clear light trails even in bright times like blue hour or twilight.
| ND Filter Strength | Light Reduction | Ideal Conditions |
|---|---|---|
| ND4 (2-stop) | 75% | Twilight, overcast |
| ND8 (3-stop) | 87.5% | Blue hour, urban areas |
| ND16 (4-stop) | 93.75% | Sunset, bright city lights |
Mastering slow shutter speed and using the right tools will help you create stunning drone light paintings. You’ll get smooth, crisp light trails that look amazing.
Post-Processing Techniques for Smooth Light Trails
After taking your drone light painting shots, it’s time to make them look even better. Tools like Adobe After Effects or DaVinci Resolve are key here. They help make your footage super smooth.
To make your light trails stand out, try HDR imaging. This method brings out the best in both bright and dark areas. For a bigger view, use panoramic stitching. It lets you merge several images into one, giving you a wider scene.
Color grading is also a great tool for drone editing. Play with different colors to make your light trails more striking. But be careful with image-adaptive controls. They might add flicker to your video. With these techniques, you can turn your footage into beautiful, smooth light paintings that show off your creativity.


